Here’s a list of essential nail art tools that you need to get started with DIY nail art. The purpose of each of these tools and how they can be used to help you create stunning nail art are also outlined below. These tools are categorized within these three key areas:
This is the stage where you prepare your nails to avoid some common issues that may lead to chipped or peeling nail art. The basic tools assume that you would be using your manicured natural nails, so you wouldn’t find much information here on adding extensions to lengthen nails or doing a basic manicure.
It’s pretty easy to go crazy buying every brush, dotter, tape or stamper out there to design and apply nail art. In fact, you actually don’t need to buy all these things when you’re now starting out. This list provides you with the essential tools that gives you the flexibility to create the nail art that these other tools provide.
This is the stage where you actually remove the nail art. You may want to do this to either clean-up the mistakes or go back to the original state of your natural nails. Remember, we all make mistakes! So, when you paint on your finger instead of your nails, it’s helpful to easily fix these mistakes instead of starting all over again.
- Step 1: Nail Prep
-
This is the stage where you prepare your nails to avoid some common issues that may lead to chipped or peeling nail art. The basic tools assume that you would be using your manicured natural nails, so you wouldn’t find much information here on adding extensions to lengthen nails or doing a basic manicure.
- Step 2: Nail Art
-
It’s pretty easy to go crazy buying every brush, dotter, tape or stamper out there to design and apply nail art. In fact, you actually don’t need to buy all these things when you’re now starting out. This list provides you with the essential tools that gives you the flexibility to create the nail art that these other tools provide.
- Step 3: Clean-up
-
This is the stage where you actually remove the nail art. You may want to do this to either clean-up the mistakes or go back to the original state of your natural nails. Remember, we all make mistakes! So, when you paint on your finger instead of your nails, it’s helpful to easily fix these mistakes instead of starting all over again.
Essential Nail Art Tools: What are they and why are they worth having?
Lint Free Pads
You should try to avoid using regular cotton balls when doing your nails because the shreds from the ball can easily get stuck to the nail. When this happens, your nail art can get mixed up with the lint which can make your final nail art look pretty unsightly. If you can, look for some lint free pads and use these for both cleansing the nail prior to nail art application and for removing the nail art when you're finished.
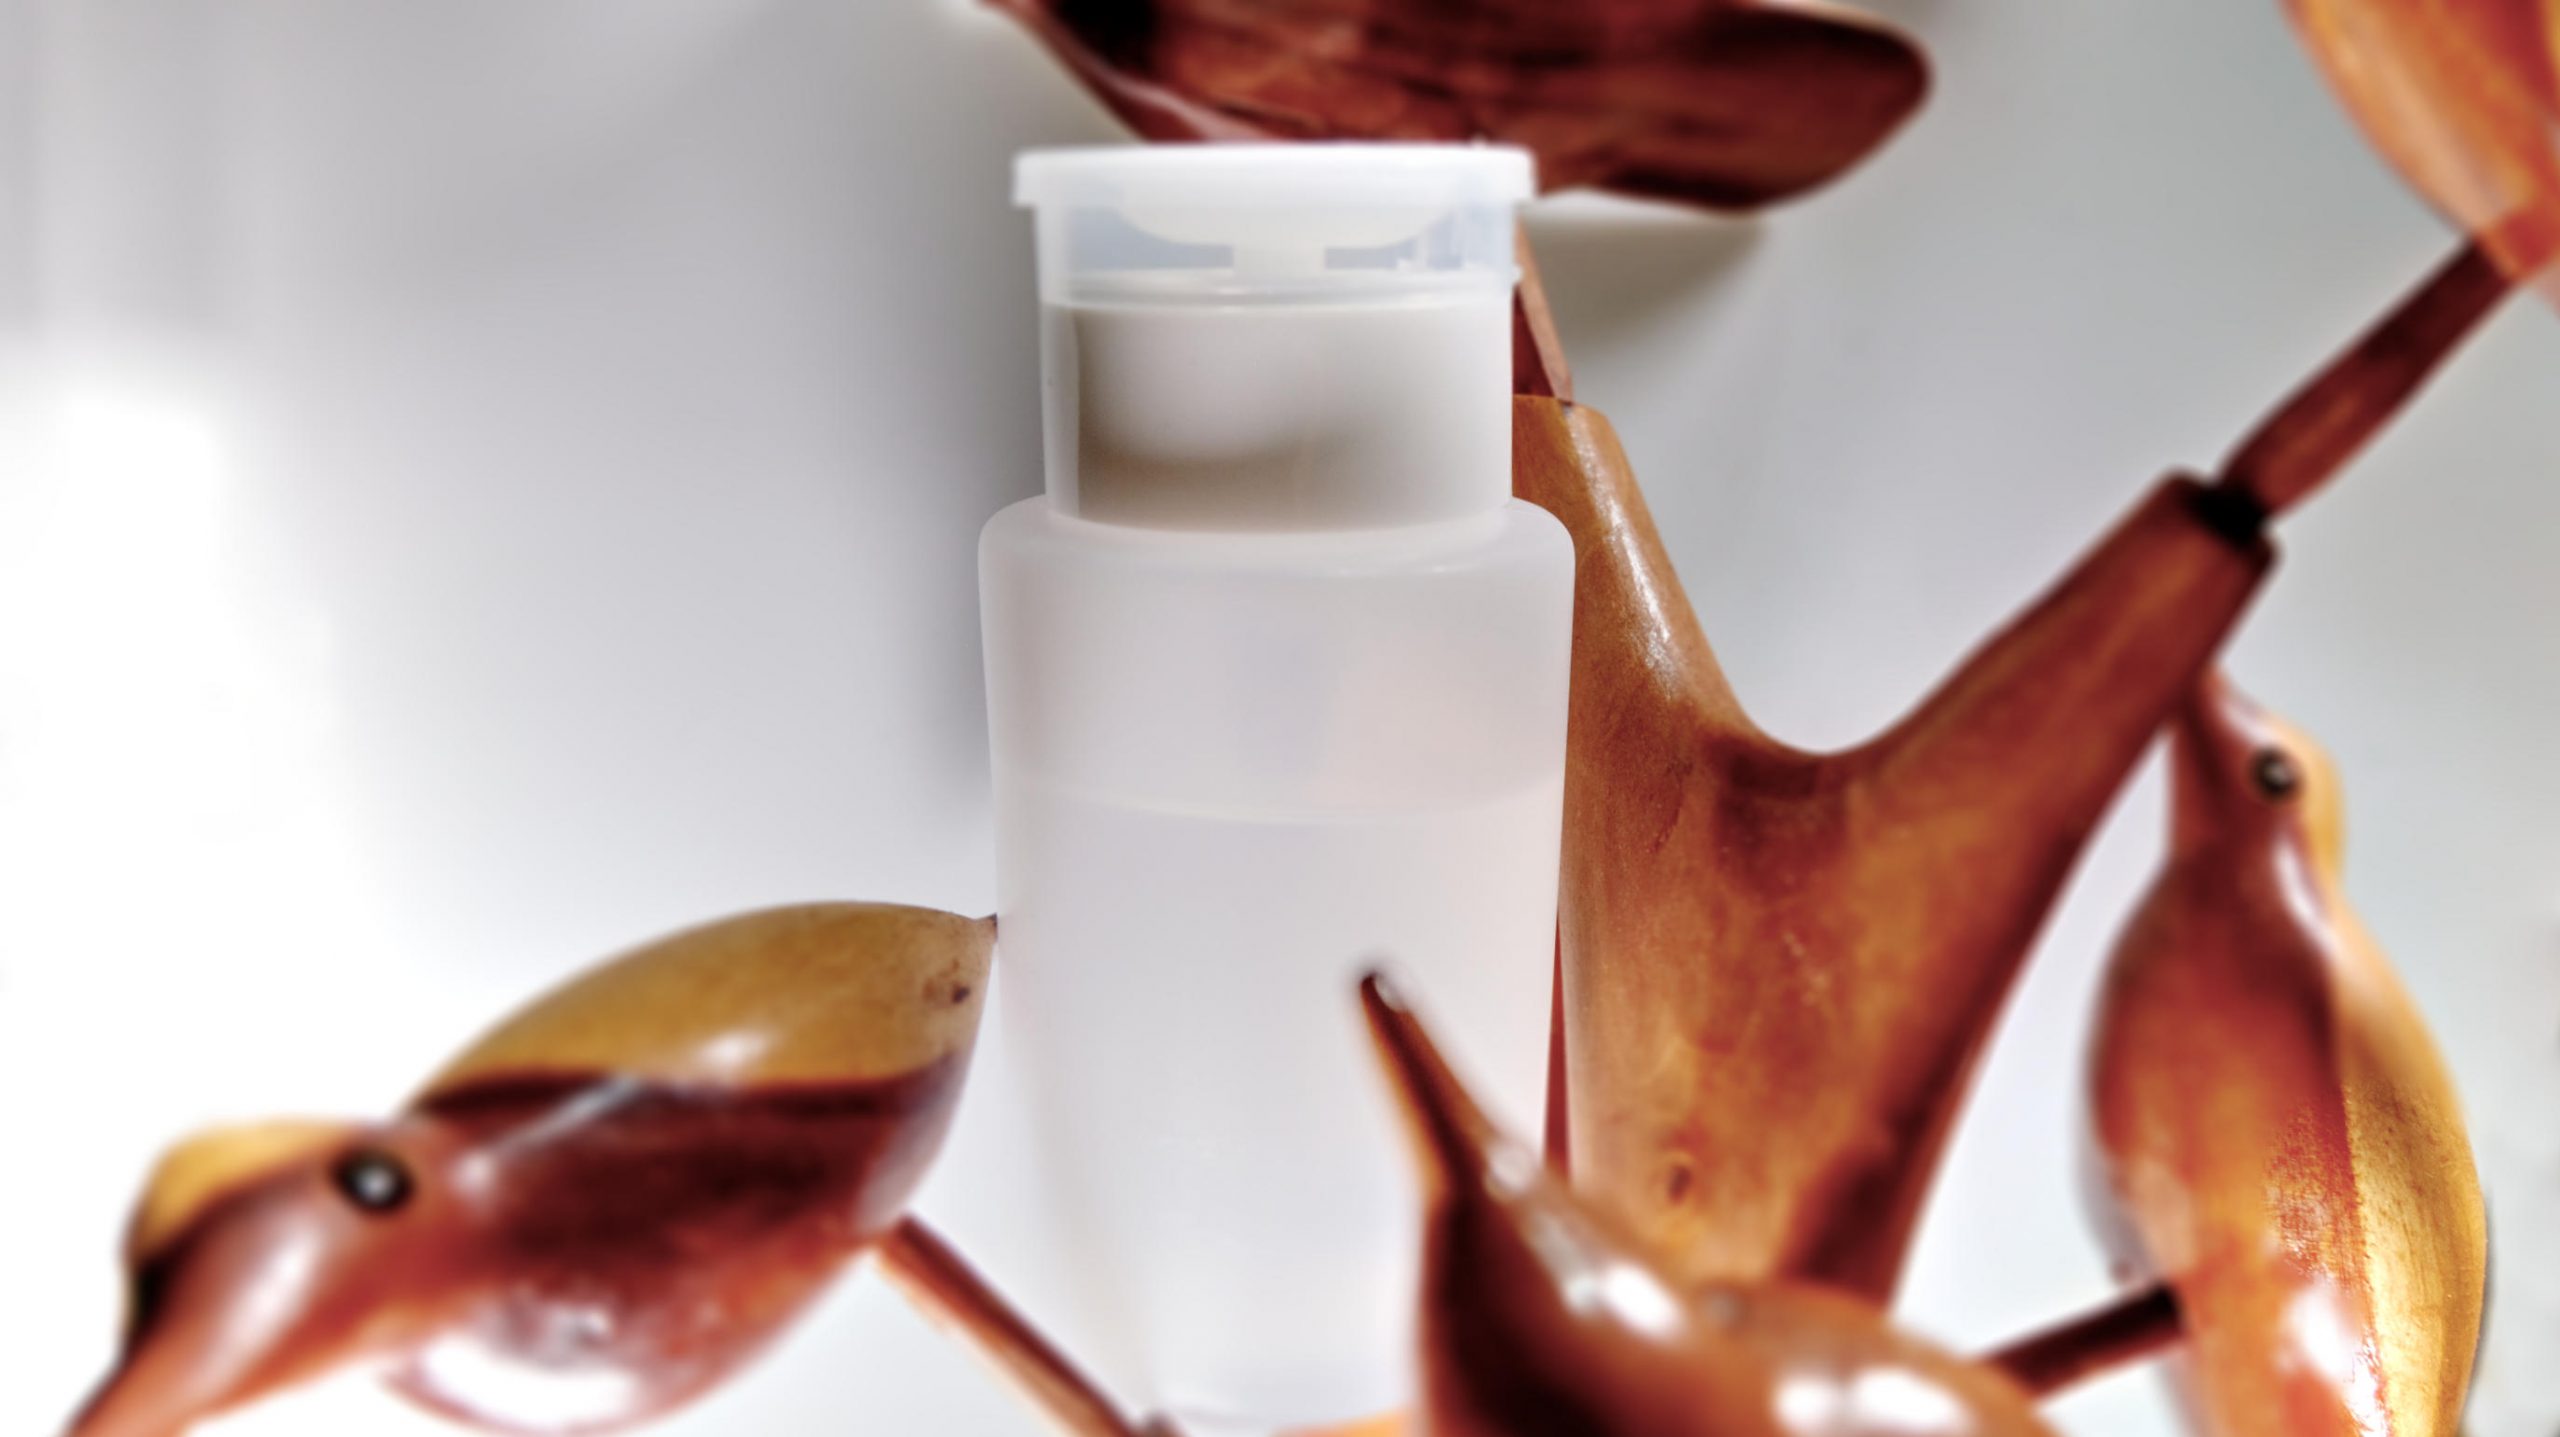
Nail Cleanser
It's really important to make sure that your nail is clear of oil and dirt before applying any polish. Otherwise, the polish will not adhere properly to the nail. You can either purchase a ready-made cleanser from your favorite nail polish brand, or make your own!
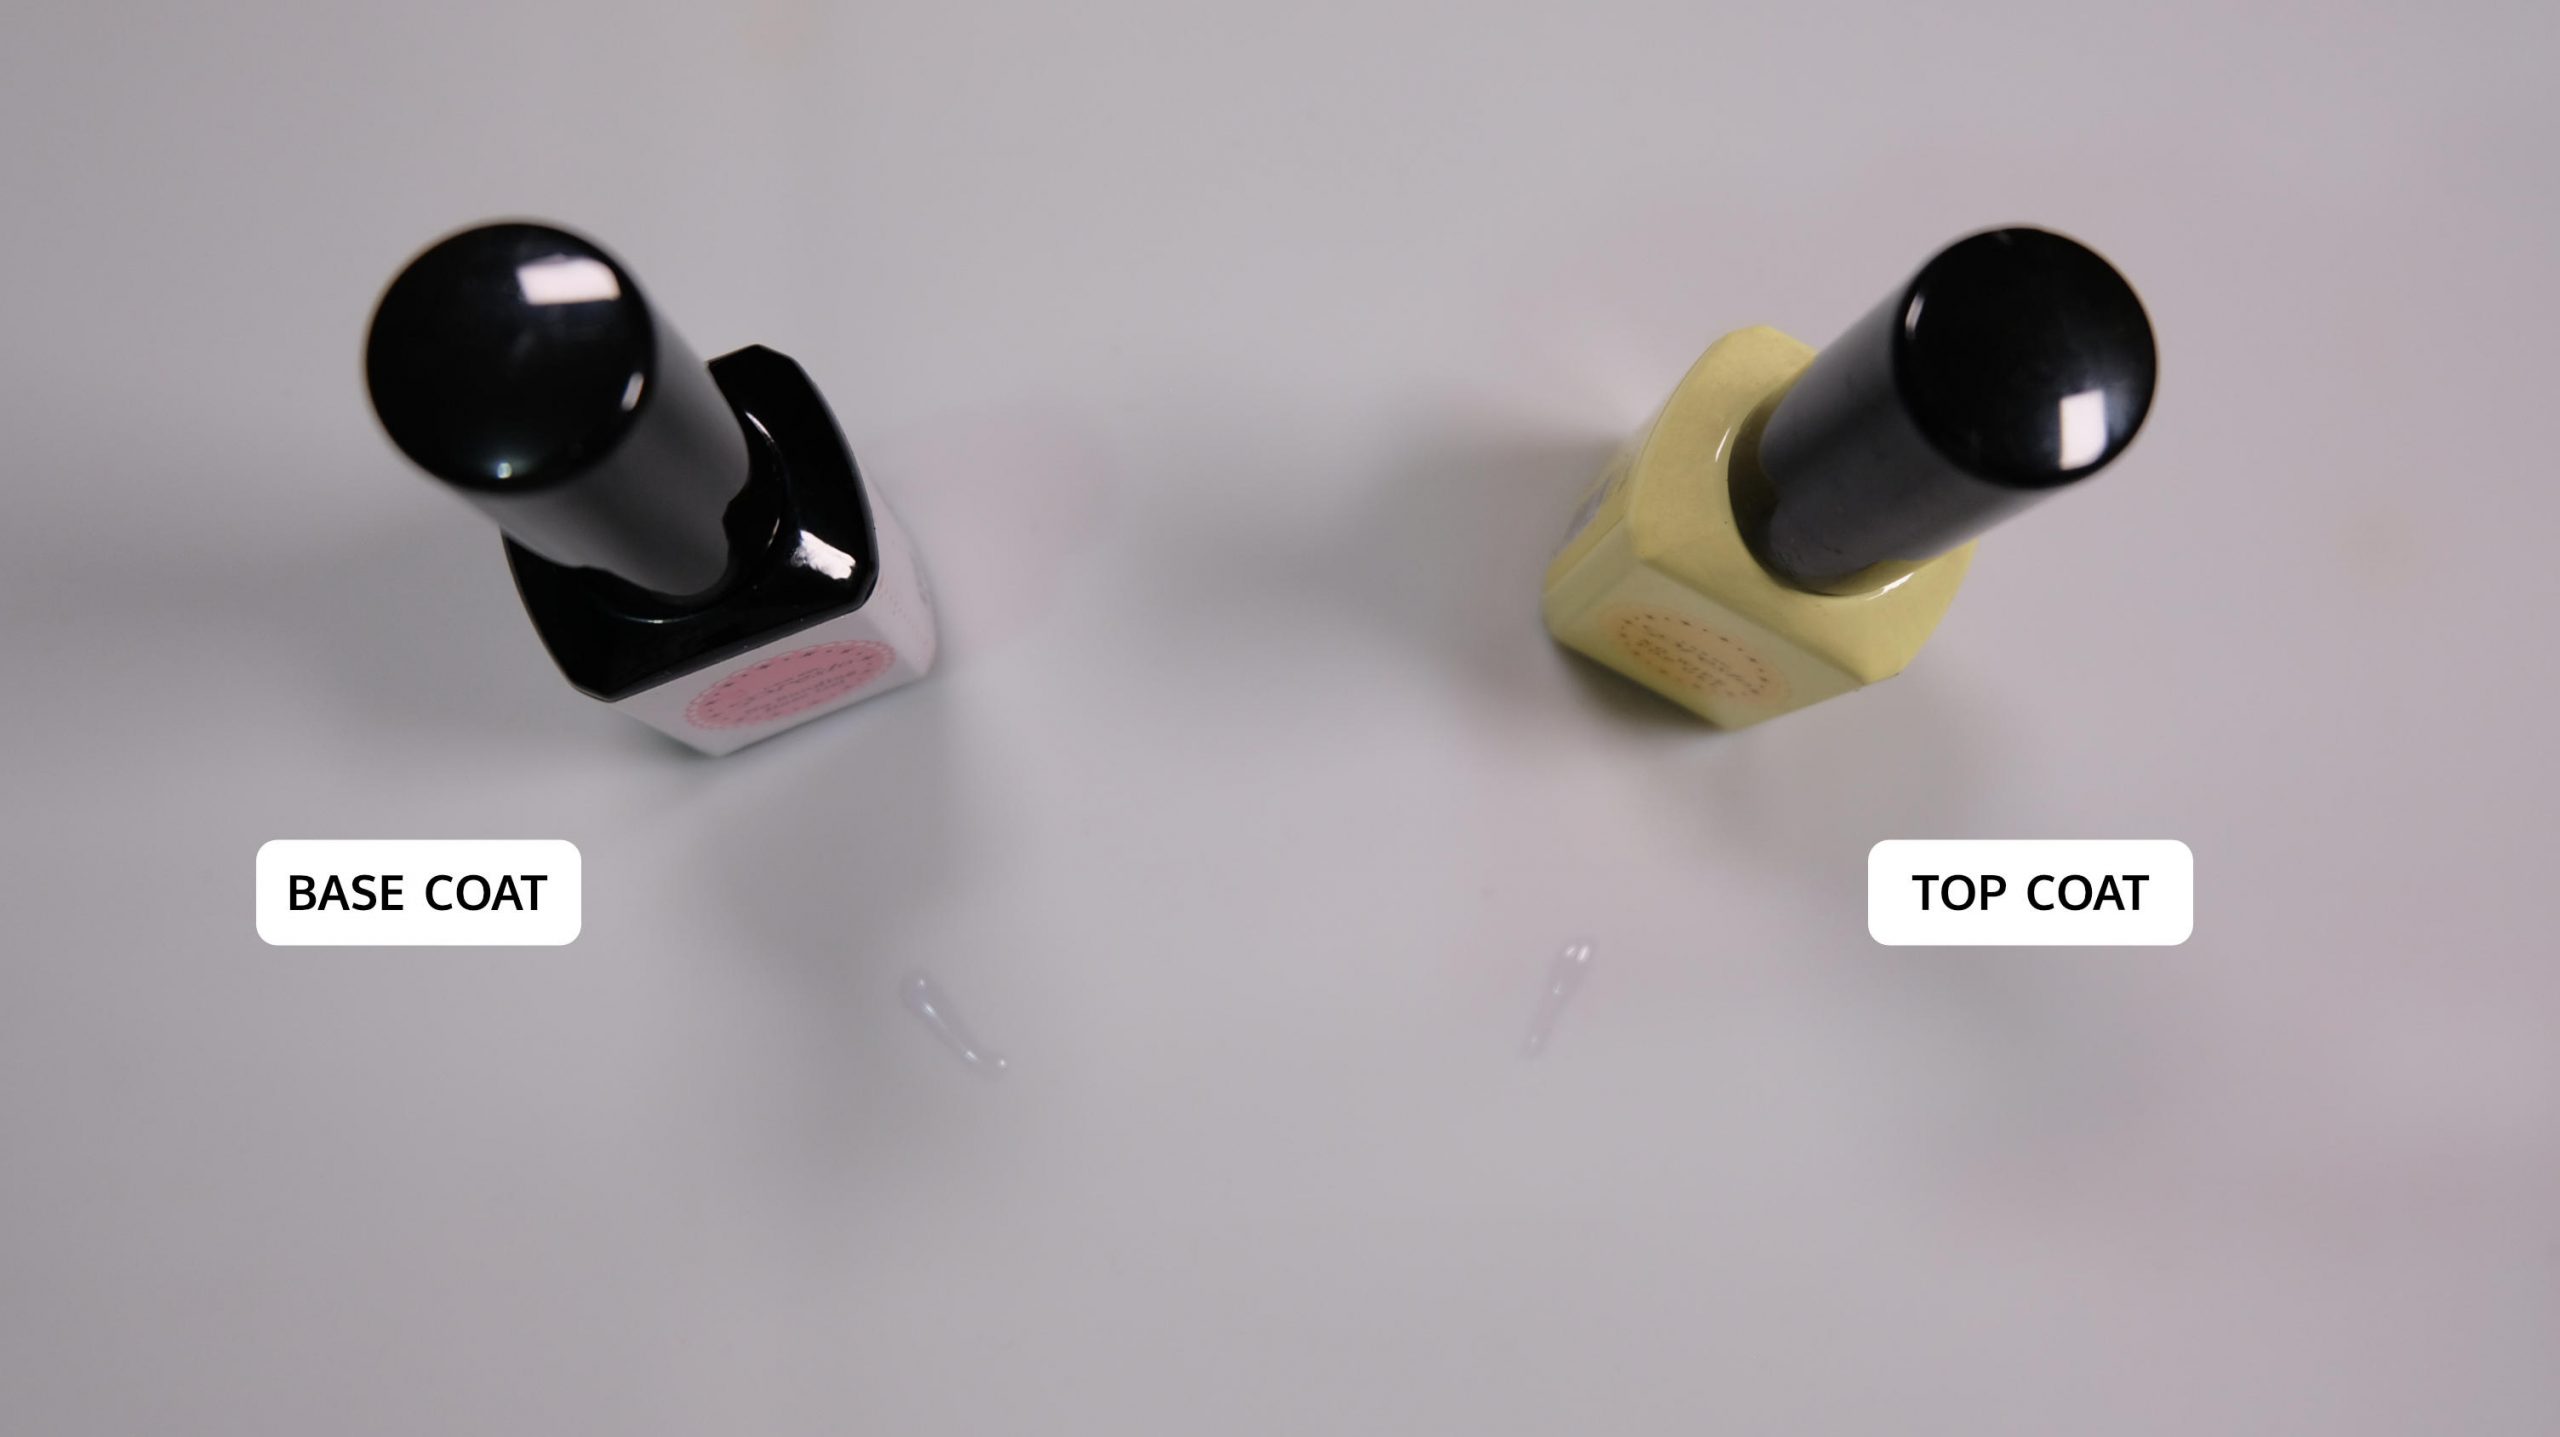
Base and Top Coat
There's so much that can be said about base and top coats, and why it's important to use both. In short, base coats are typically formulated to ensure that they adhere to the natural nail. Without the base coat, you're more likely to face premature chipping and peeling because colored polishes are not intended to sit directly on the natural nail. Similarly, top coats are great because not only do they contribute to the final look of the nail (e.g., shiny or matte), but they also tend to be formulated to reduce the extent to which moisture can get through to the nail. This is really beneficial since it helps lead to a longer lasting nail enhancement. If you're curious, the No Sanding Base Gel from Presto is one of my favorite base coats because it doesn't require me to file my nails before I do them. Since I do my nails so often, it's really important for me to use a sanding-free base gel, which doesn't require filing before application (unlike other typical gel base coats)
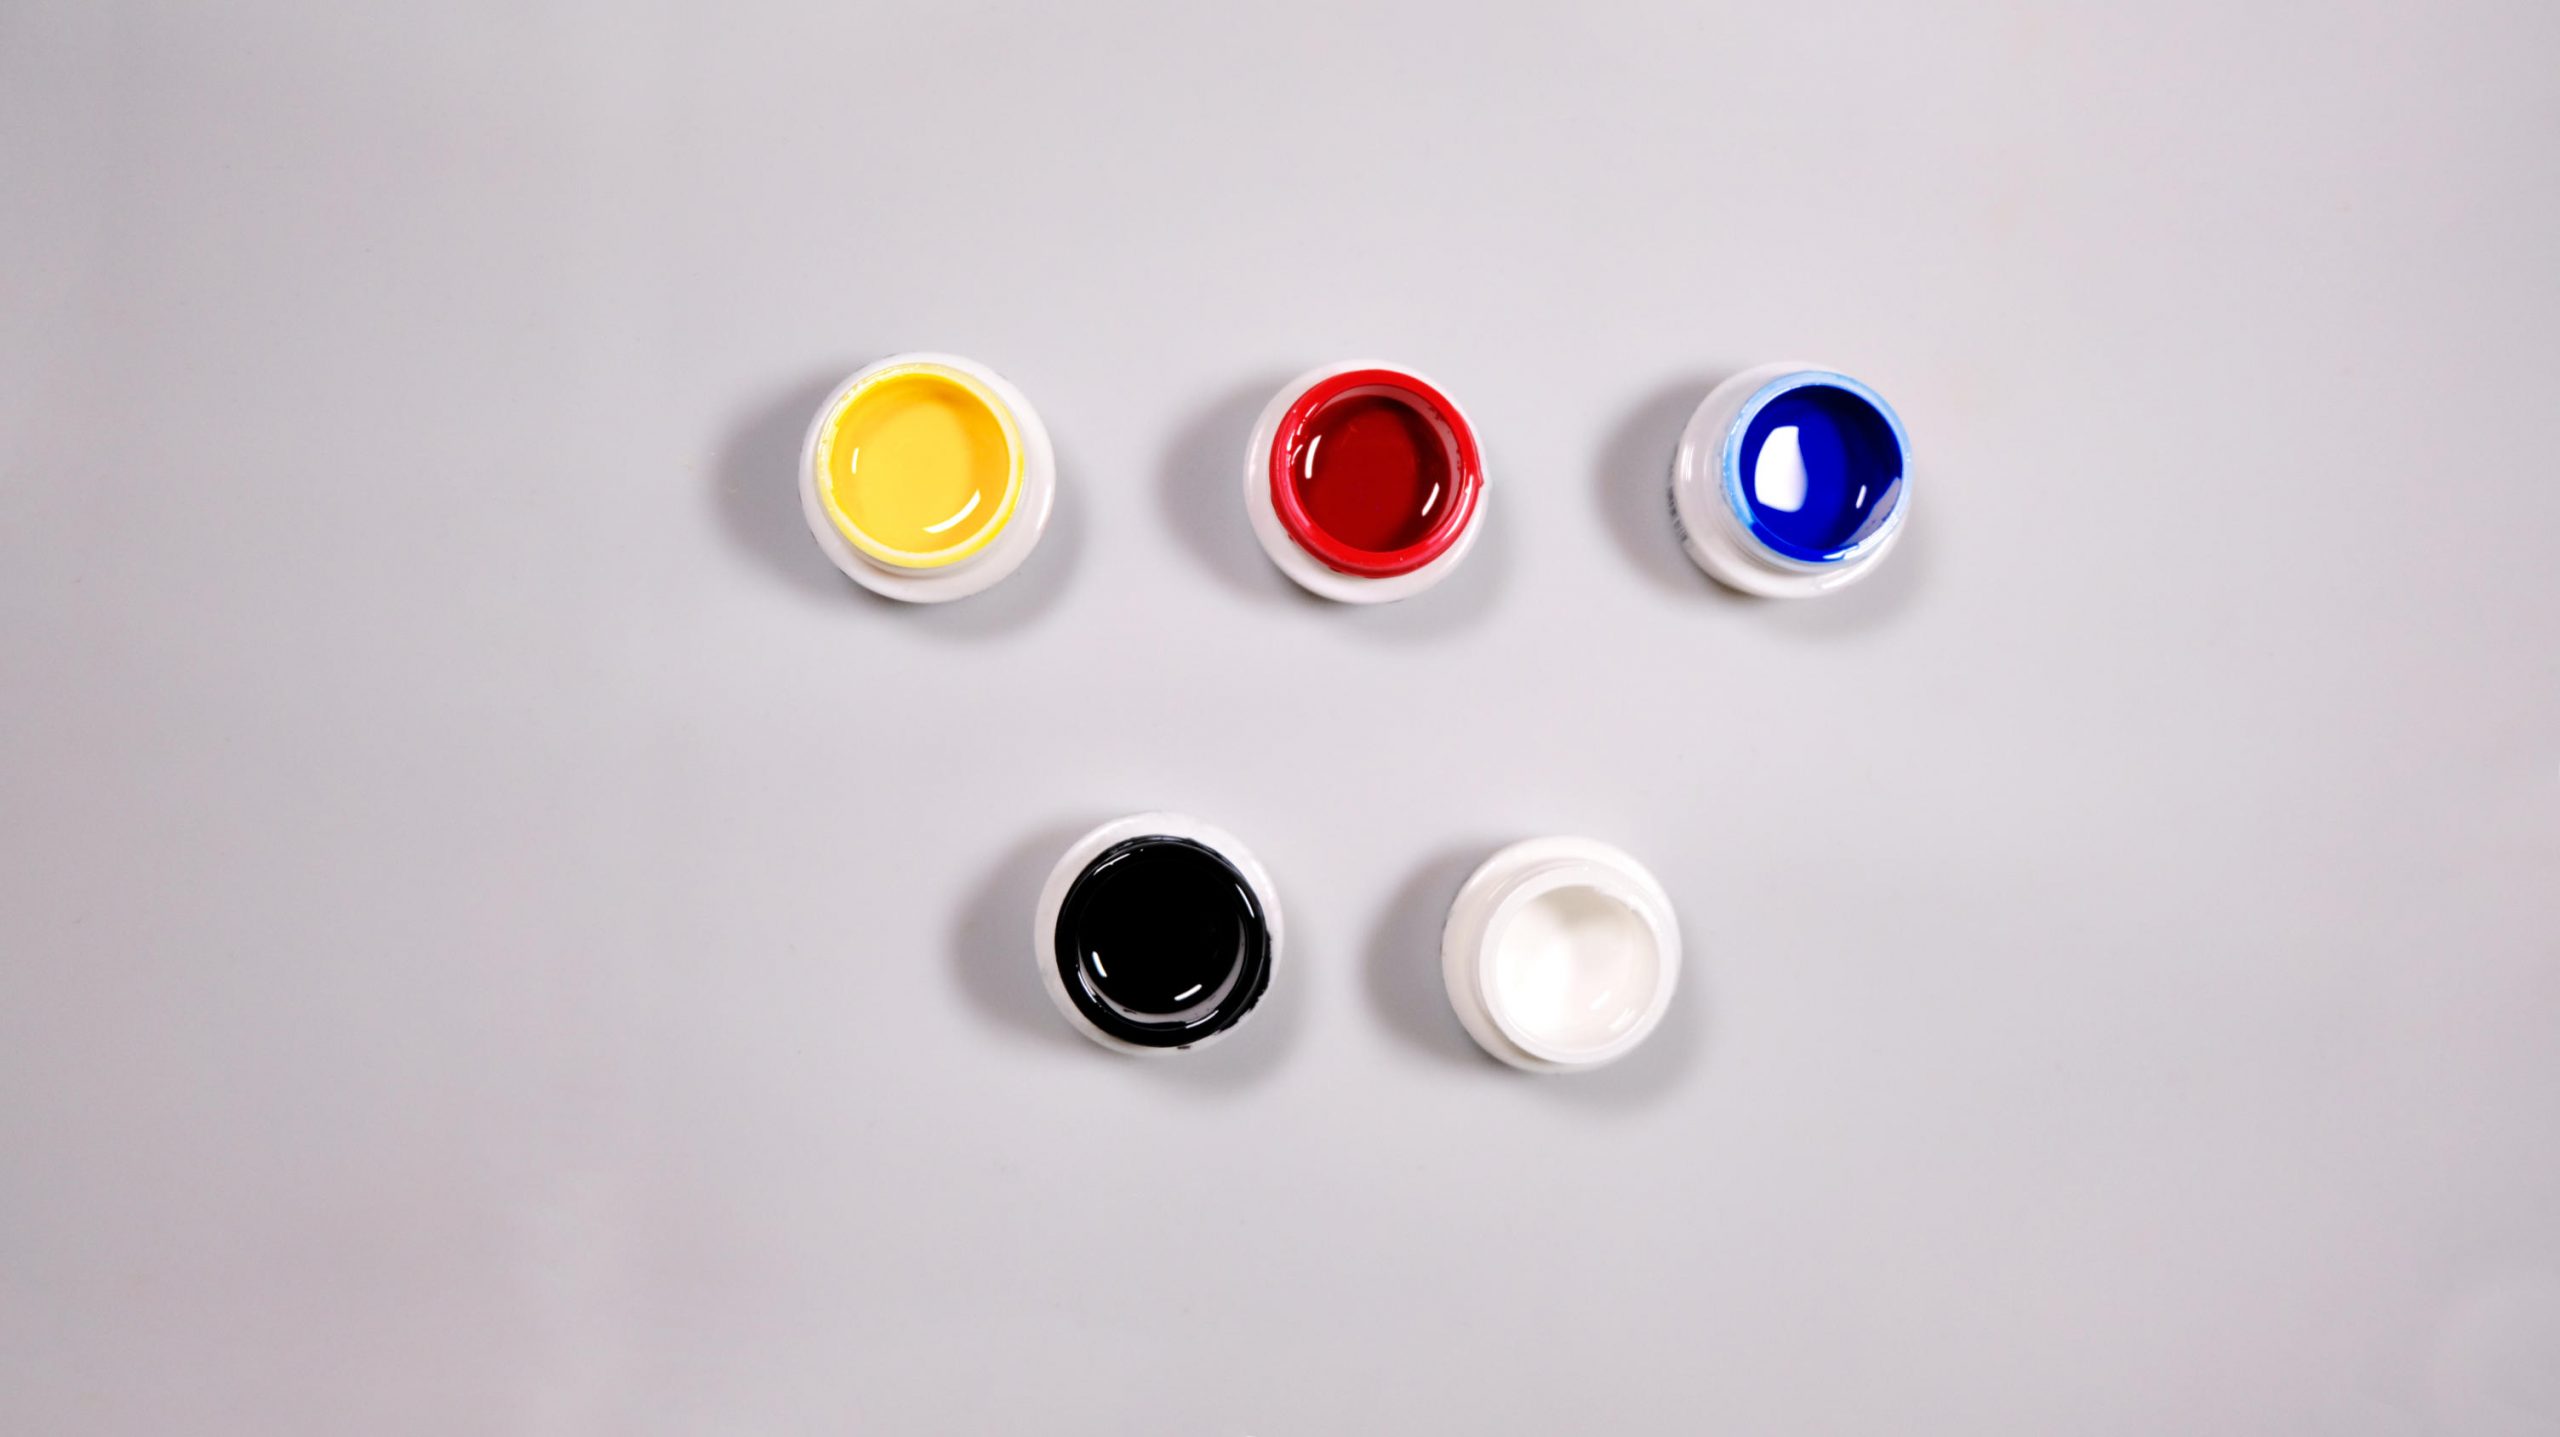
Colored Polish / Gel
Of course, you should have colored polish if you're trying to do nail art! The question is, what colors should you get if you're now dipping your toes into the nail art world for the first time? If you don't have the money to splurge on every color, you should at a minimum purchase these 5: red, blue and yellow (the primary colors) as well as black and white. With these colors, you can re-create all the colors on the color wheel. Obviously, if you have to go this route, it's really important to have a good understanding of color combinations.
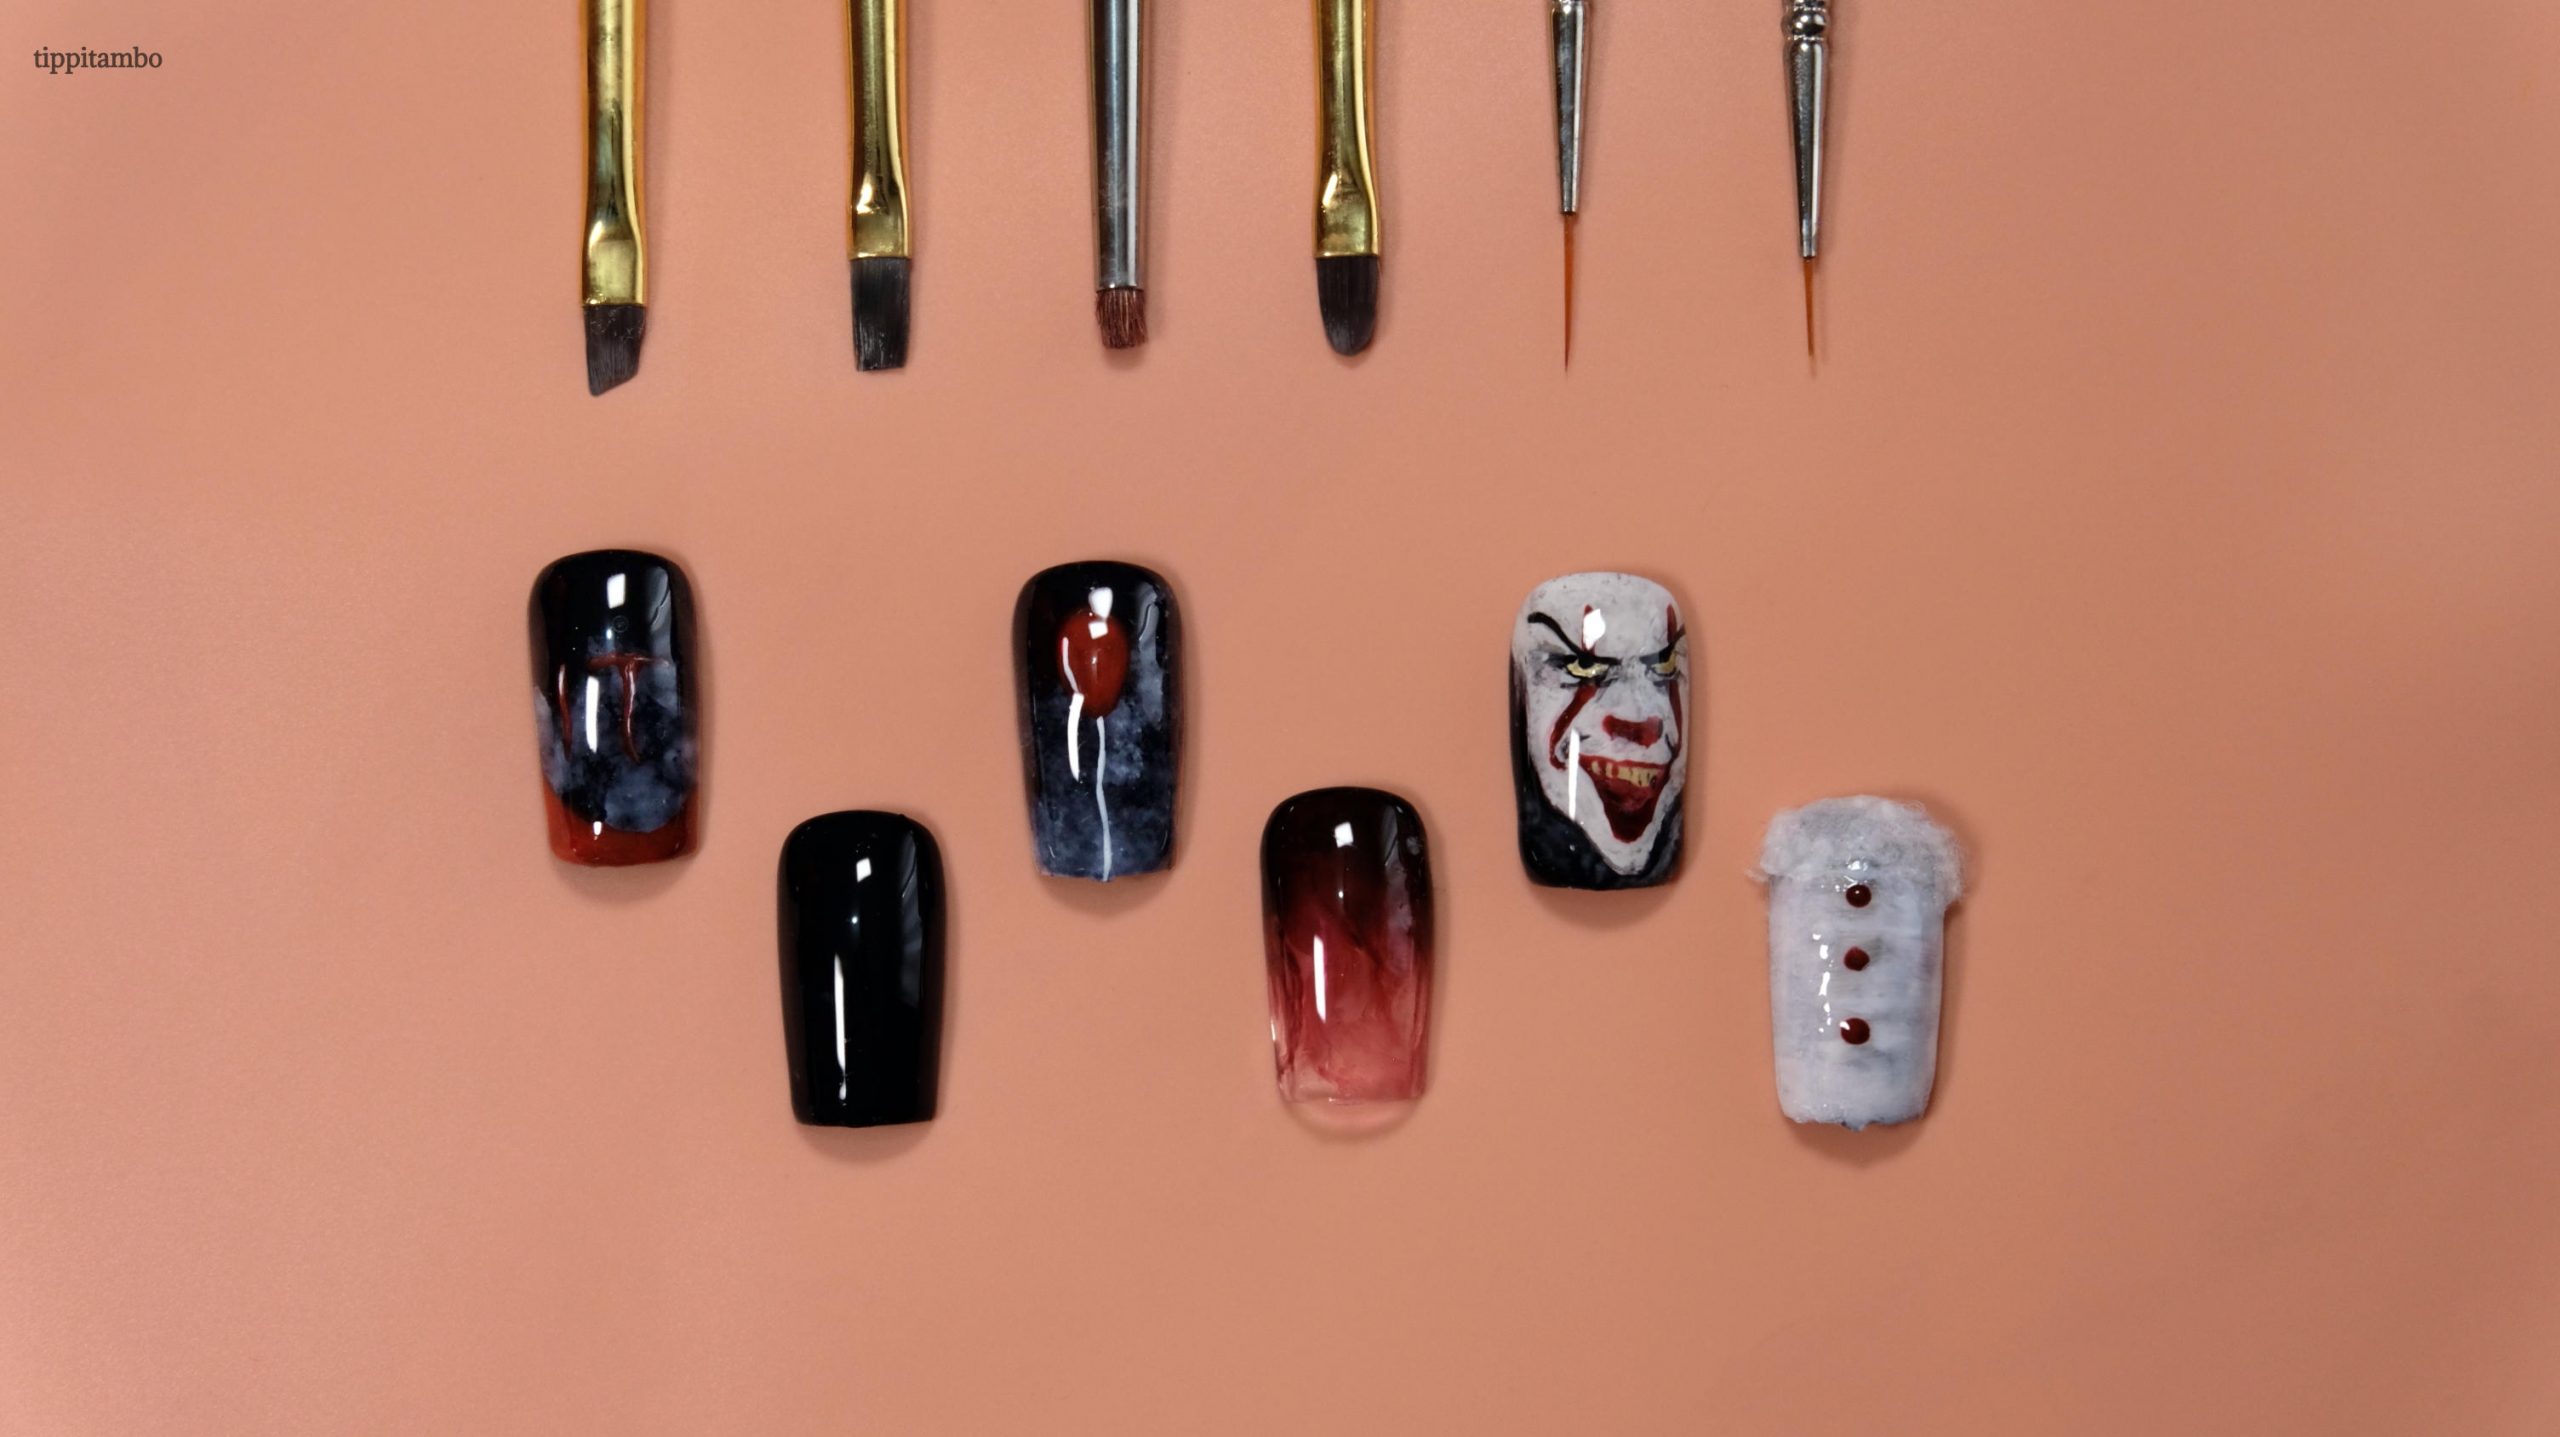
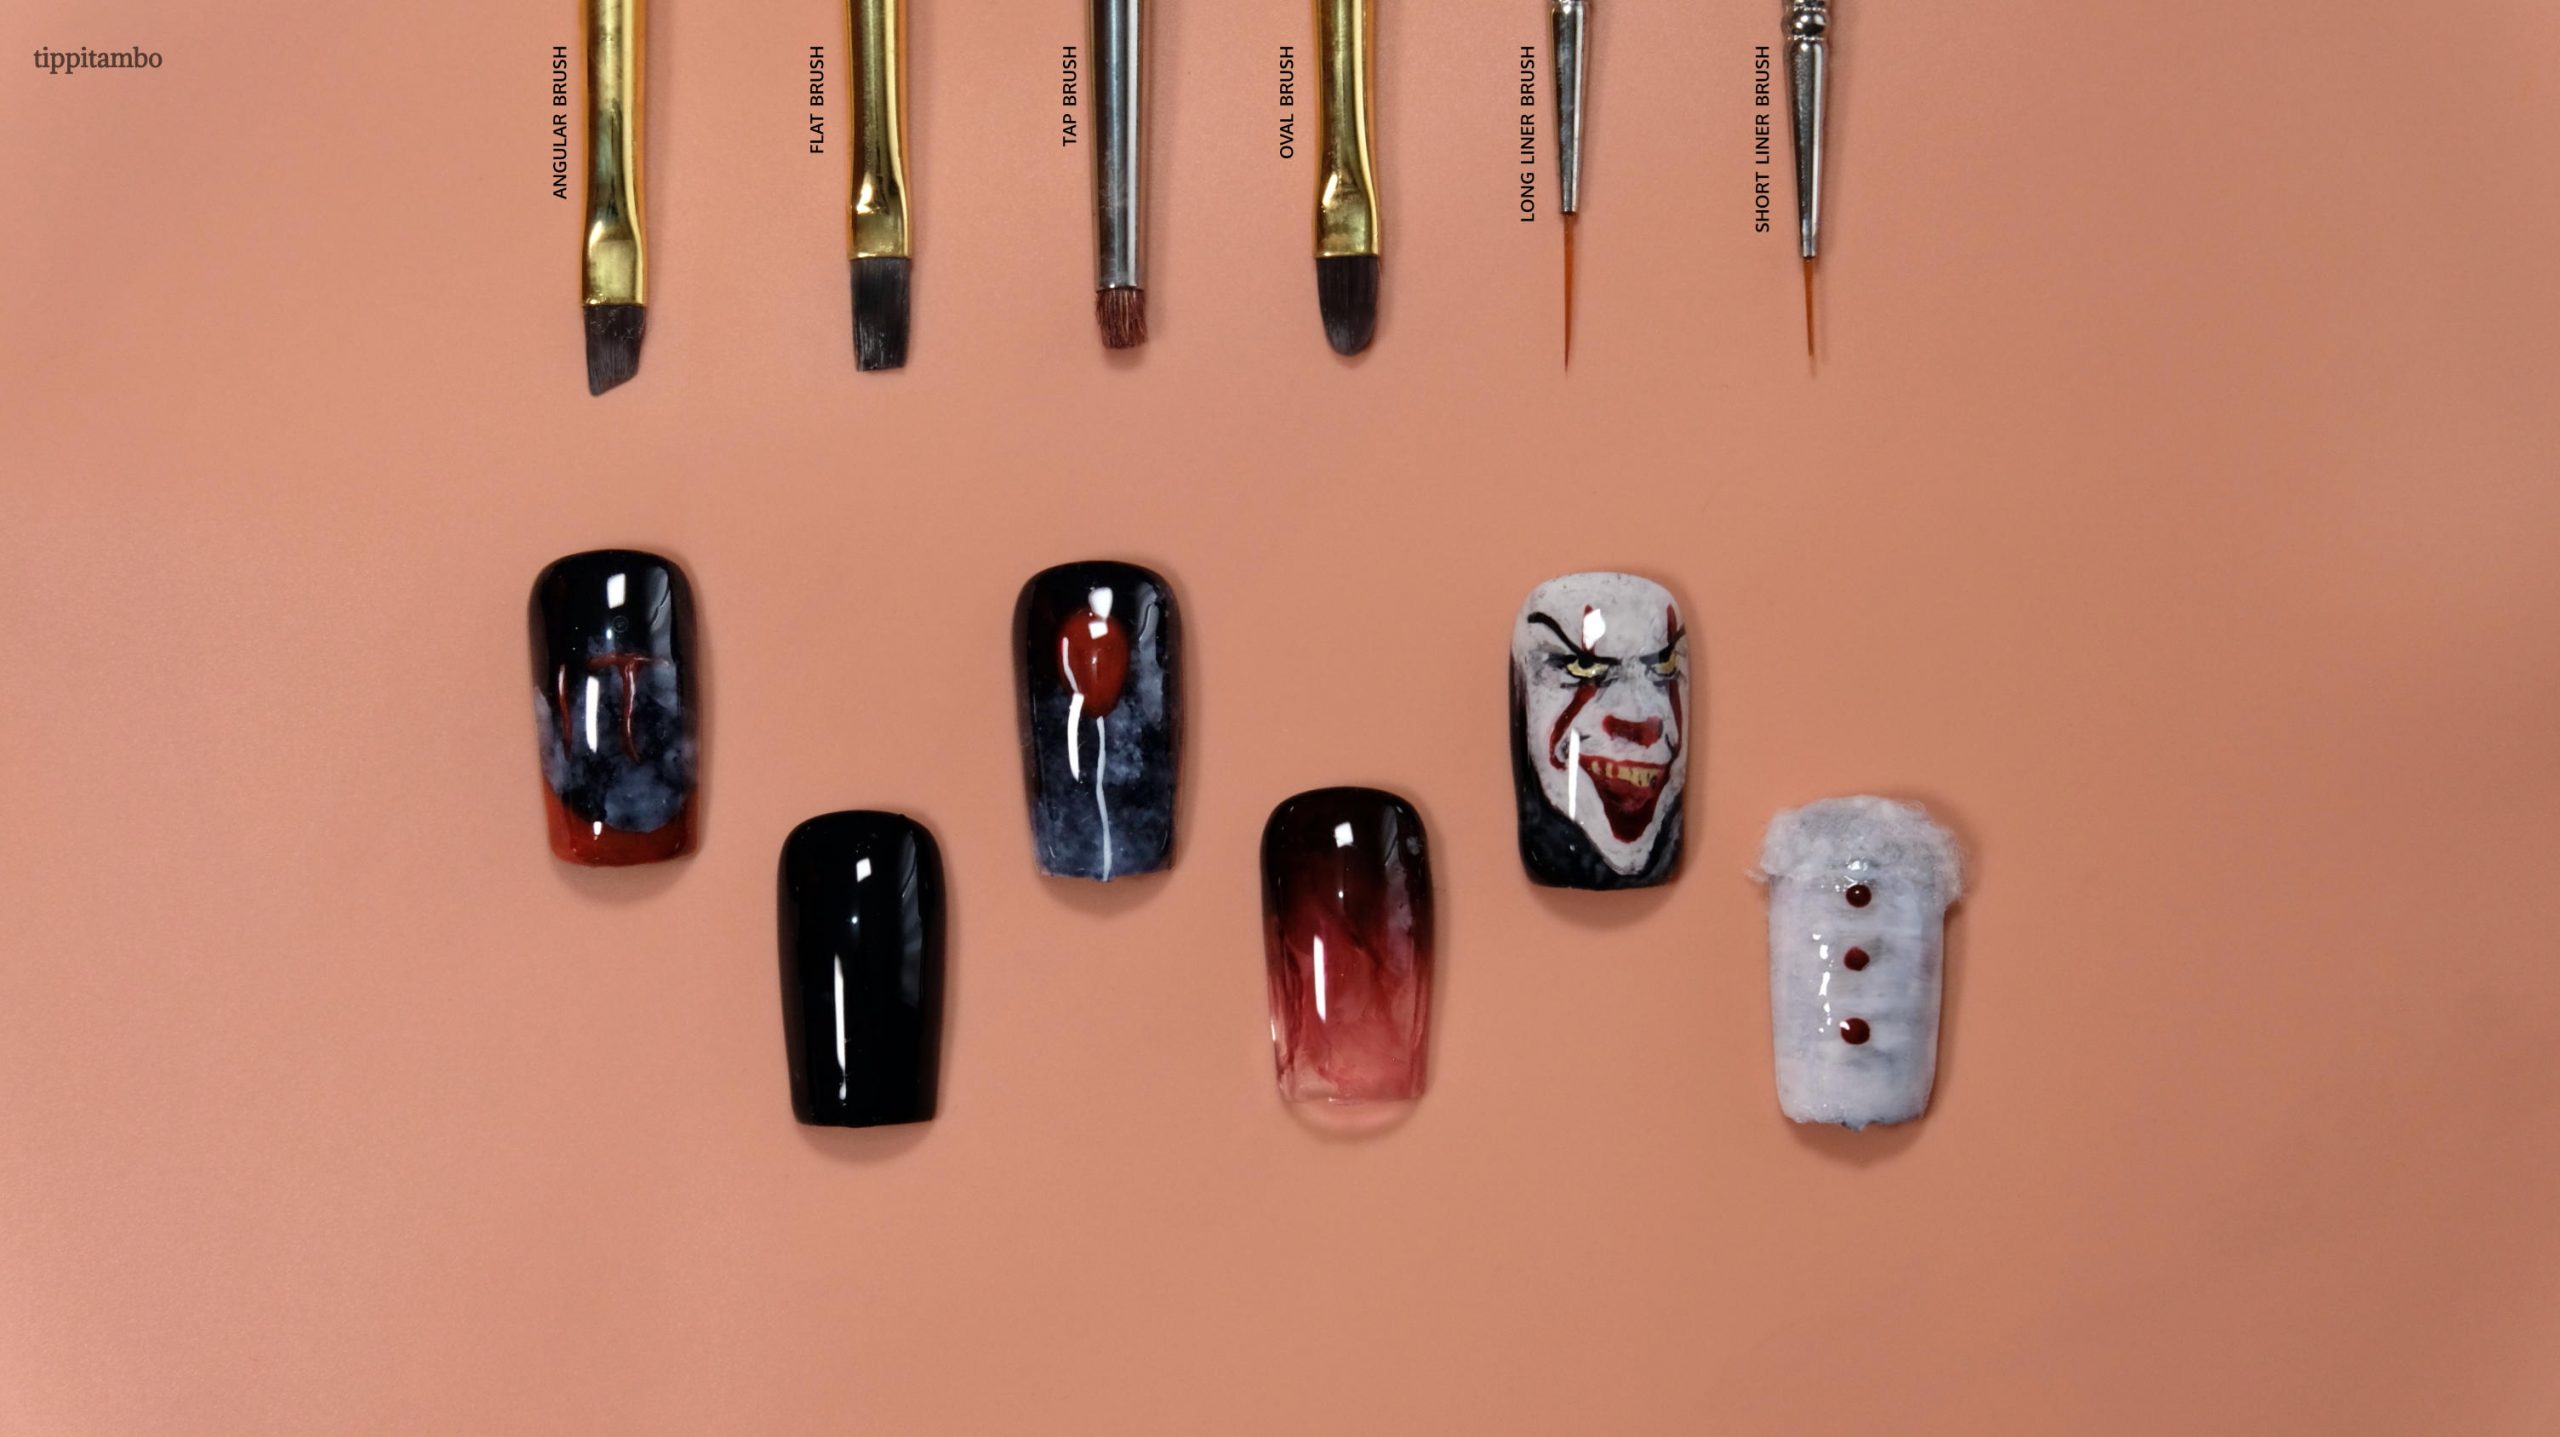
Nail Art Brushes
Angular brush: The angular brush is great for easily creating french tips, and also, with cleaning up messed up spots (when dabbed in acetone)
Flat brush: The flat brush is best used when you want to fully cover the nail with one color
Tap brush: The tap brush is very helpful when you want to create effects and textures, such as the fog effect in the balloon nail art background below
Oval brush: The oval brush can also be used for full coverage, similar to the square brush. However, it's also useful when doing leaves, flowers or marble effects
Long liner brush: The long liner brush is amazing when doing detailed artwork as well as creating long straight lines
Short liner brush: The short line is also great for detailed artwork but can also be used for adding dots to your nail art in a more controlled way
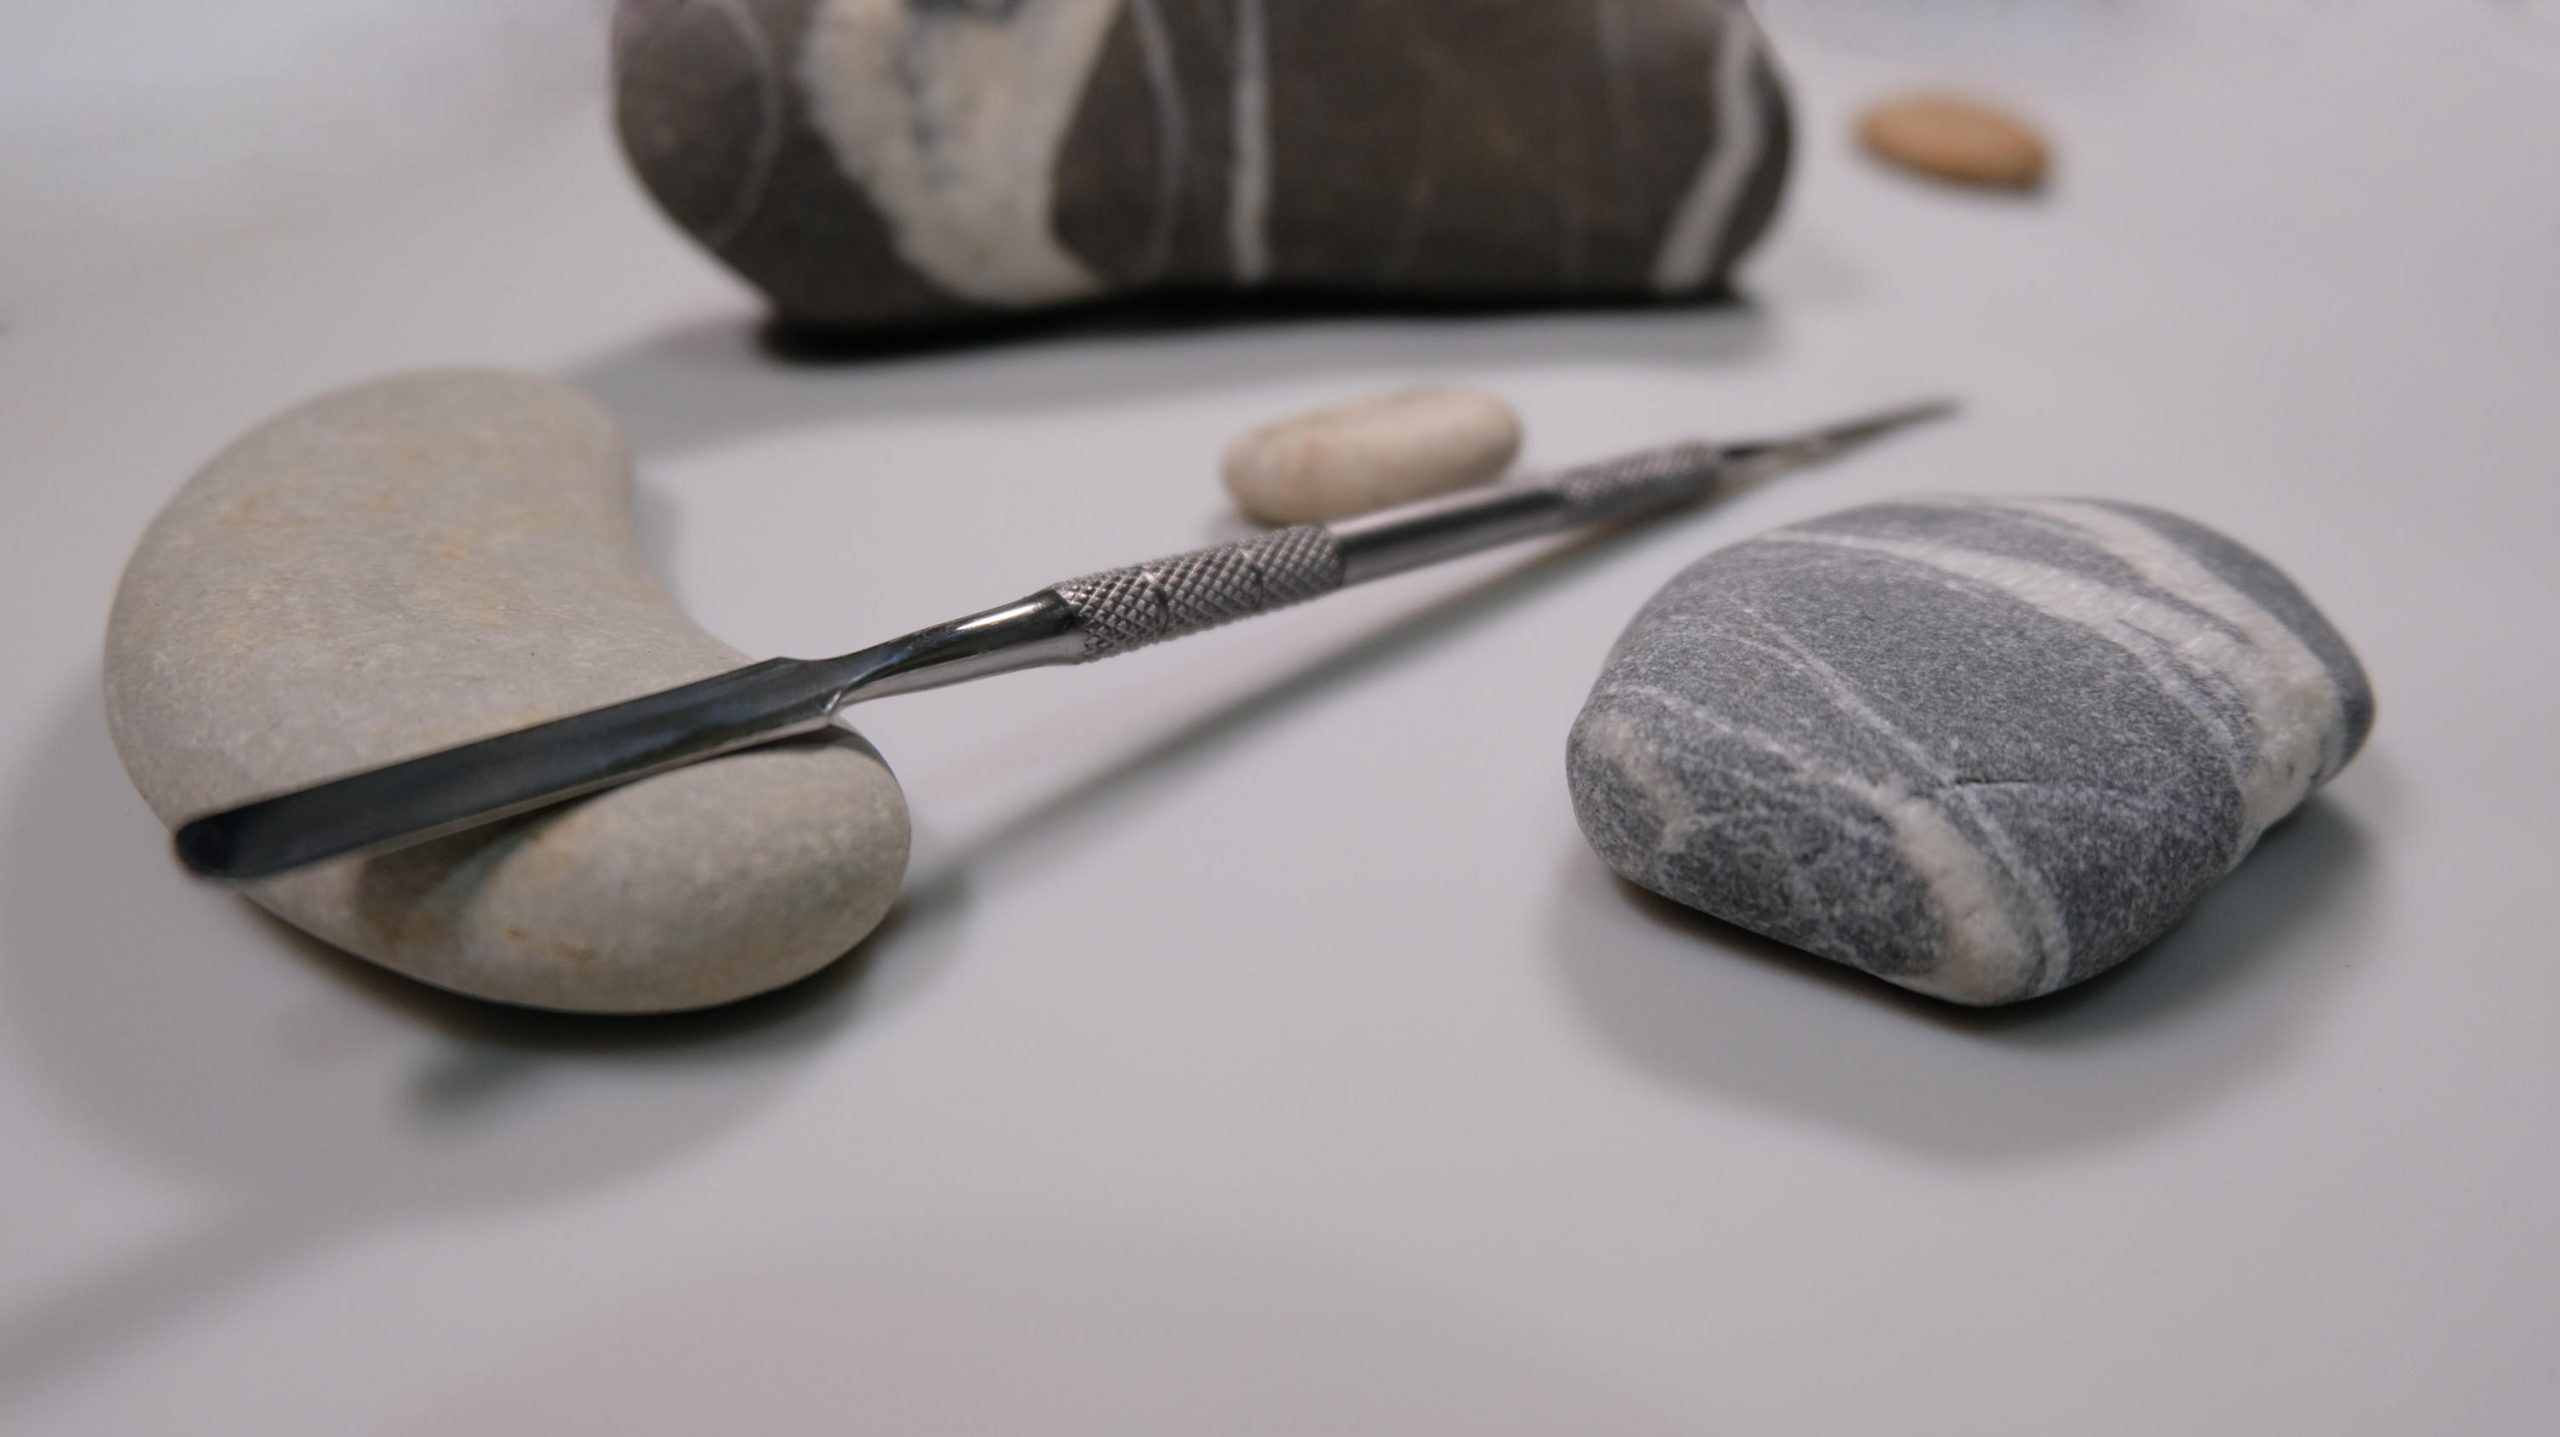
Spatula
The spatula comes in handy when you want to mix colors so that you can come up with the ideal color for your nail art. This includes mixing primary colors, if you're not able to purchase the exact color that you would like. In addition, the spatula works well for mixing colors with clear gel and other mediums in order to create different effects and textures.
Silicone Mat
The silicone mat is definitely an optional purchase but comes in handy because it makes clean-up incredibly easy! In addition, you can actually mix colors or mediums directly on the mat. When you're done, you can simply wipe the mat down with the nail cleanser, and you're done!
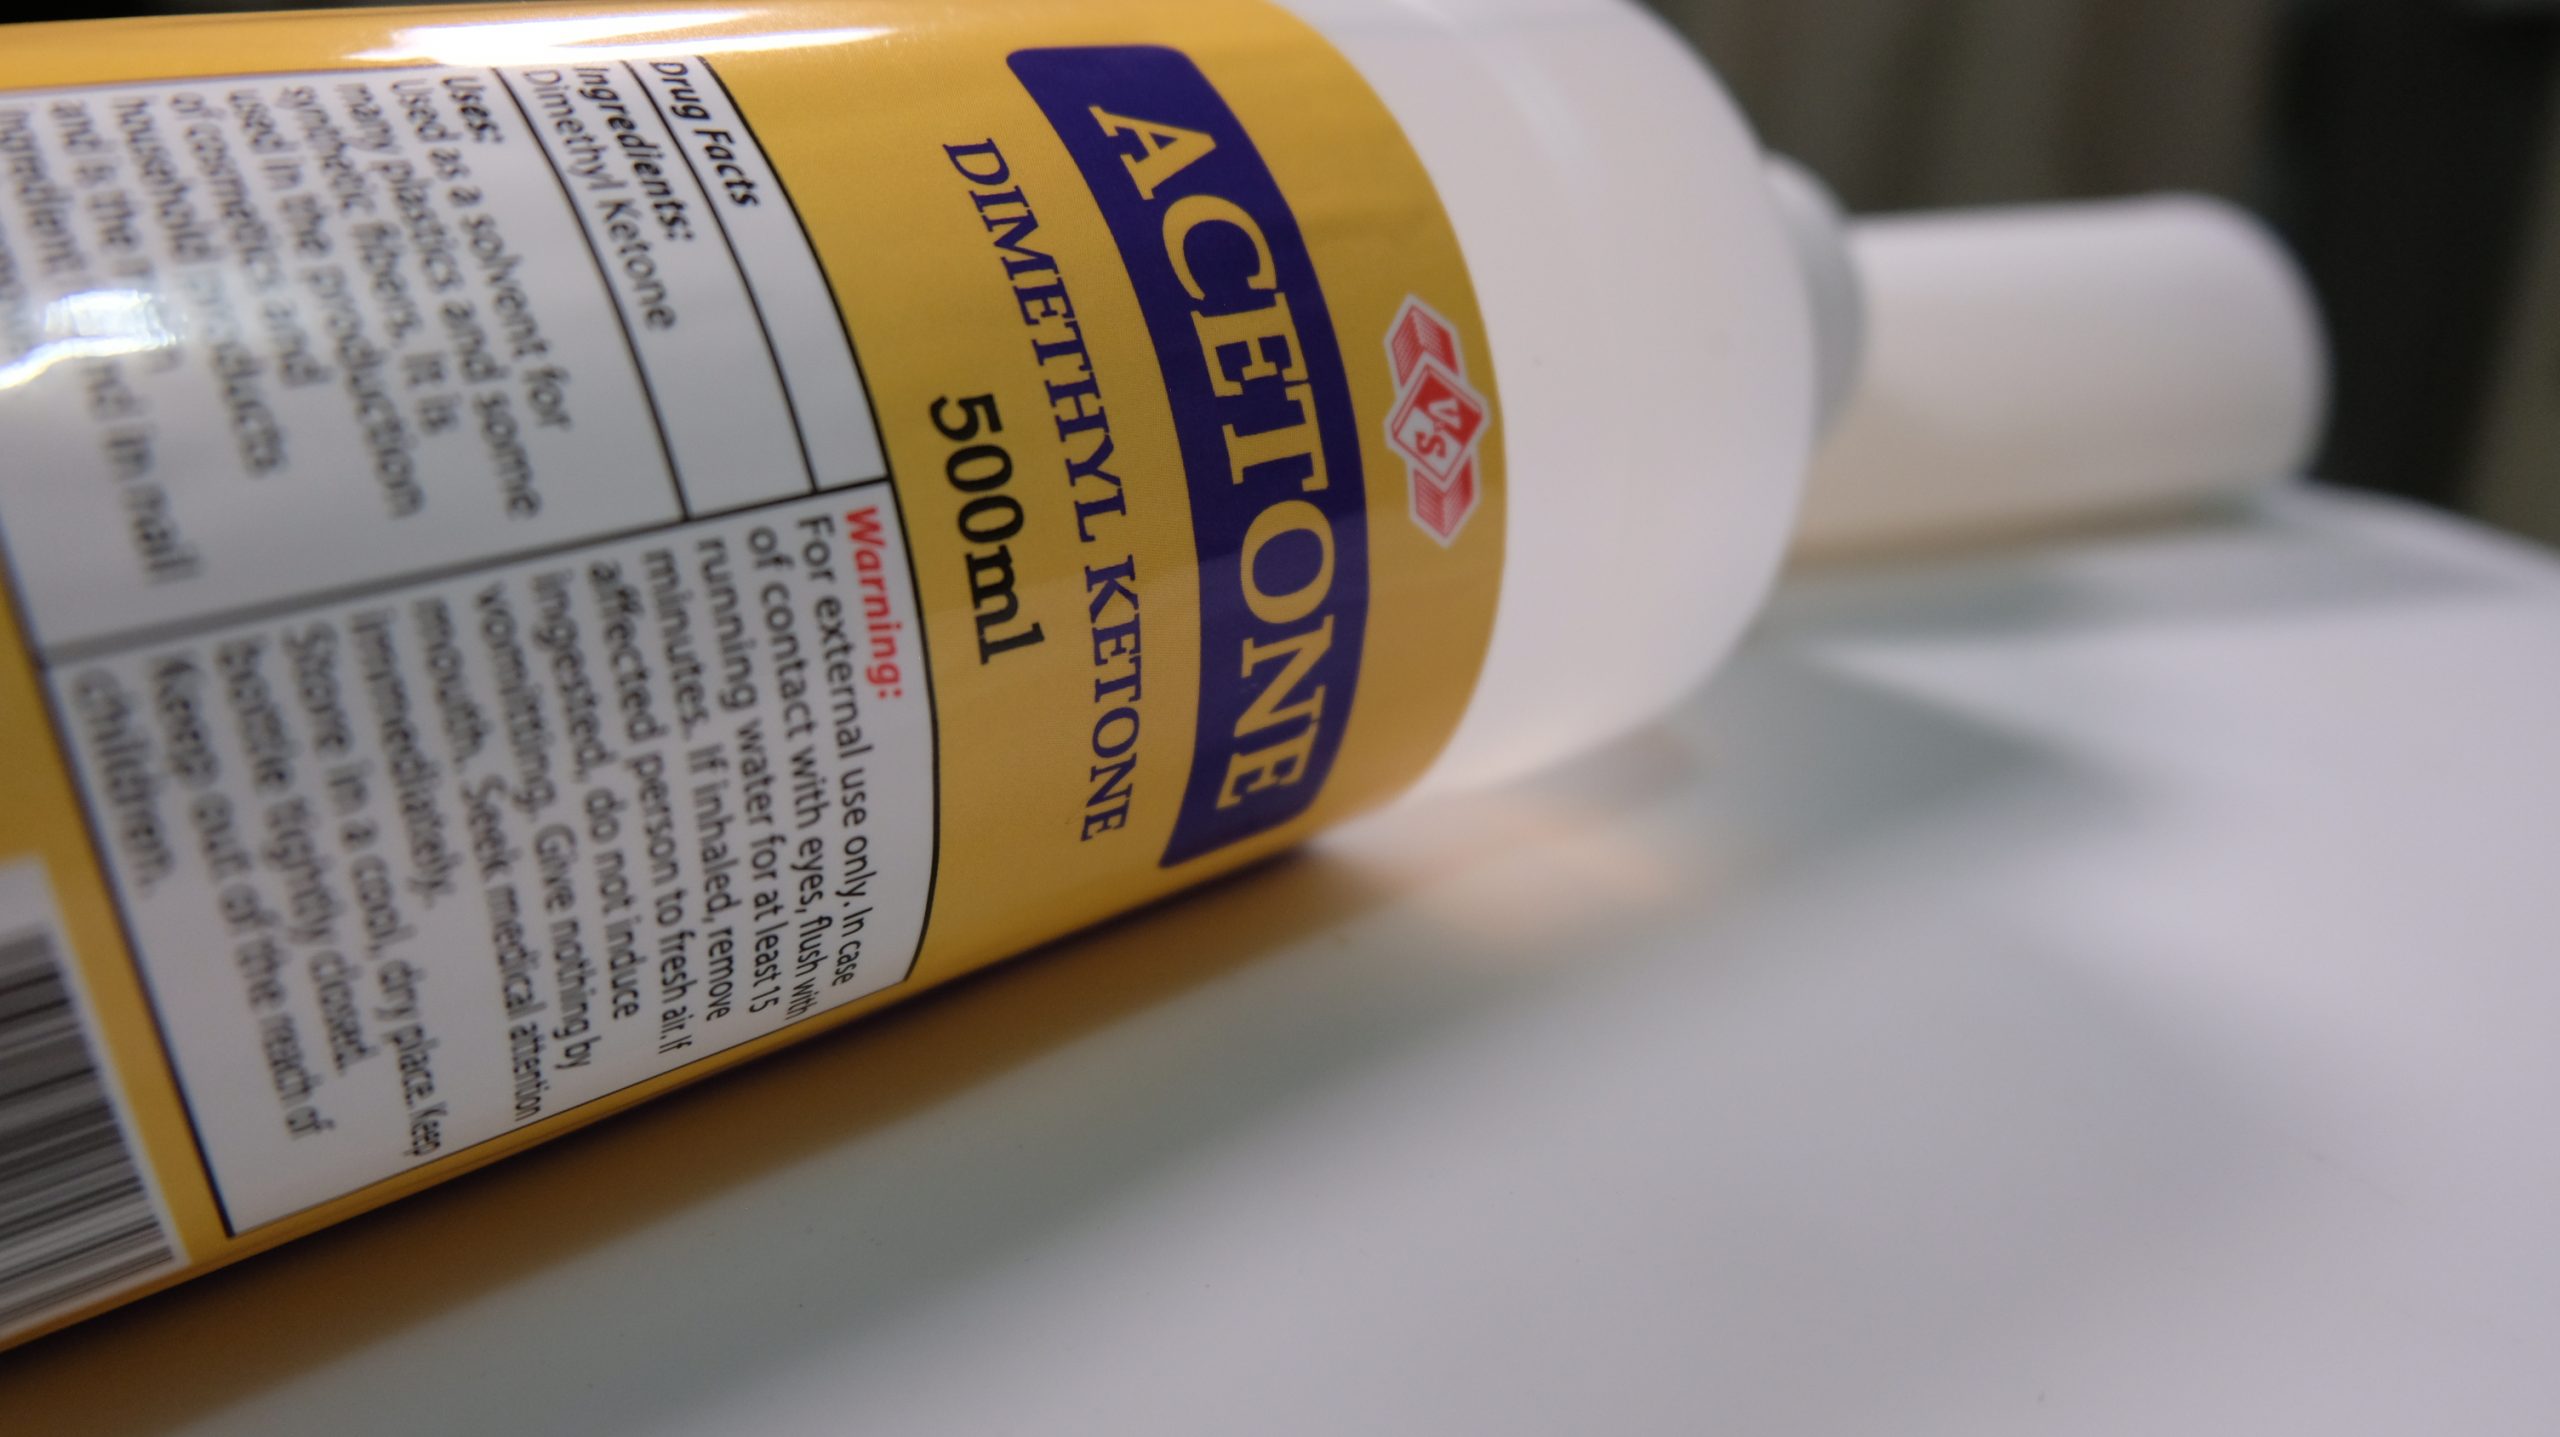
Acetone
It's so much better to use acetone instead of those nail polish removers that include other additives such as scented oils, color etc. The unnecessary ingredients can prolong the removal process. In addition, if the remover is being used to fix mistakes with the nail art, it can actually prevent the polish from properly adhering to the nail. If you're truly concerned about dry nails, you can moisturize your hands after removing the nail polish with the acetone. Fun fact: you can use the angular brush dabbed lightly in acetone to clean up polish that may have gotten on your skin during the nail art process.

