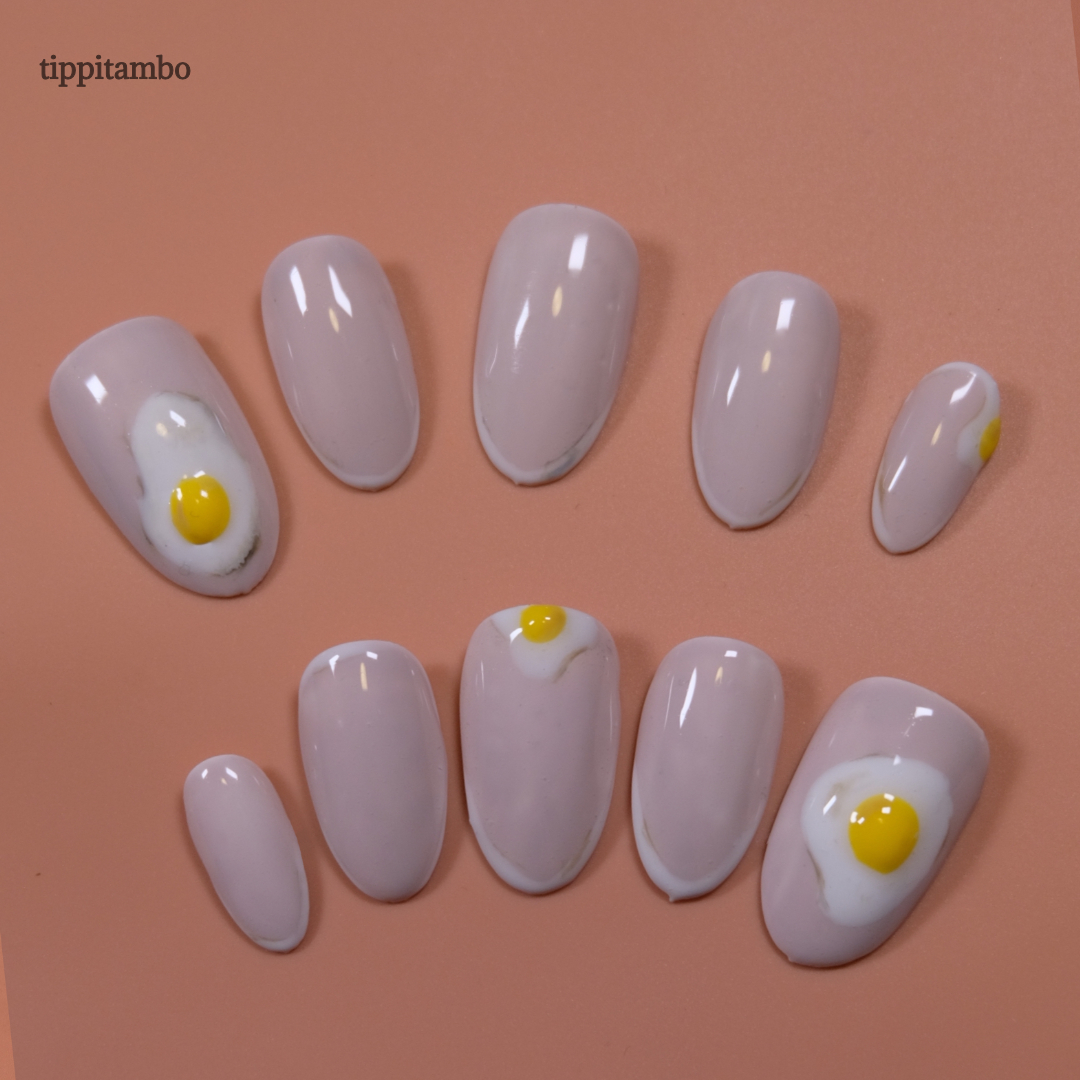
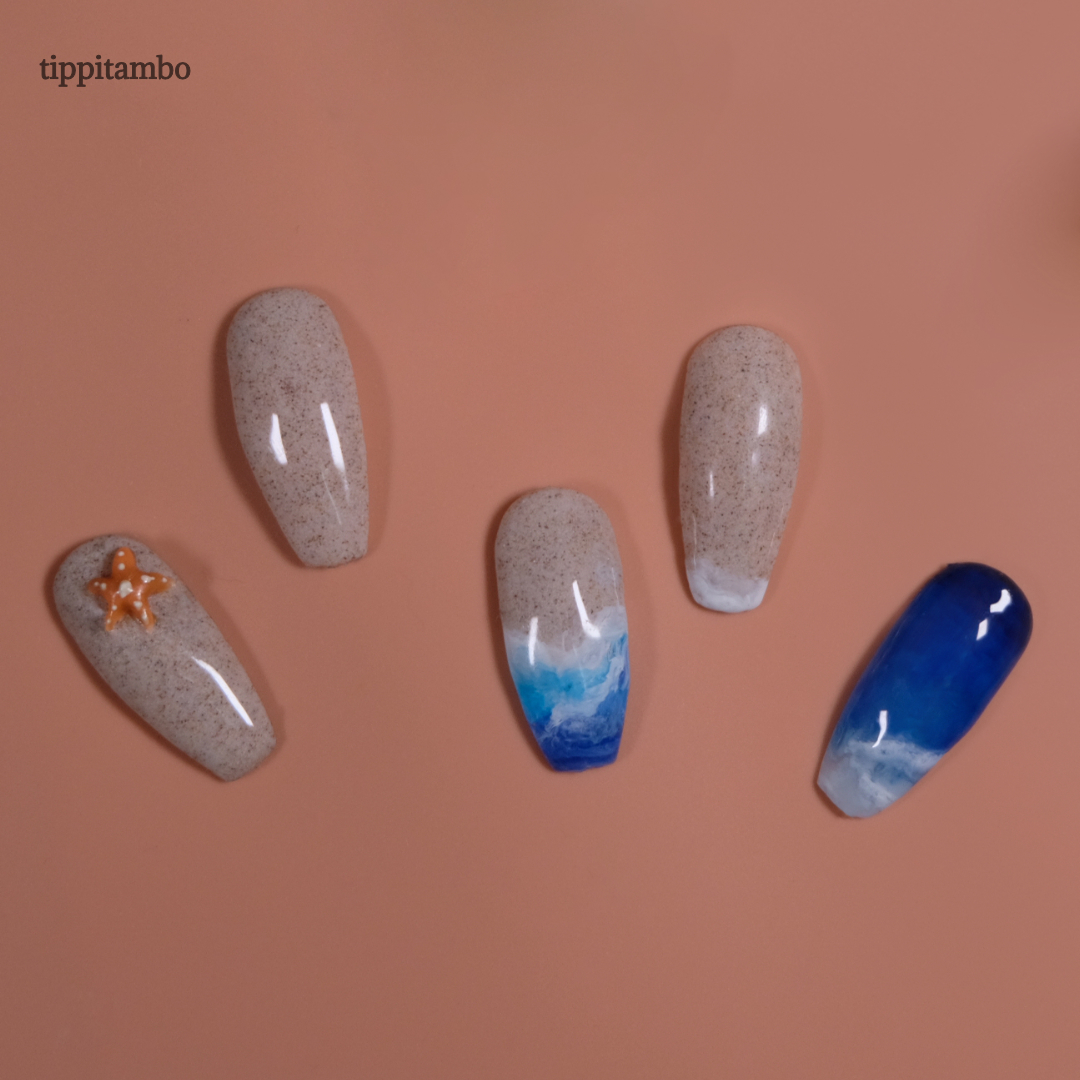
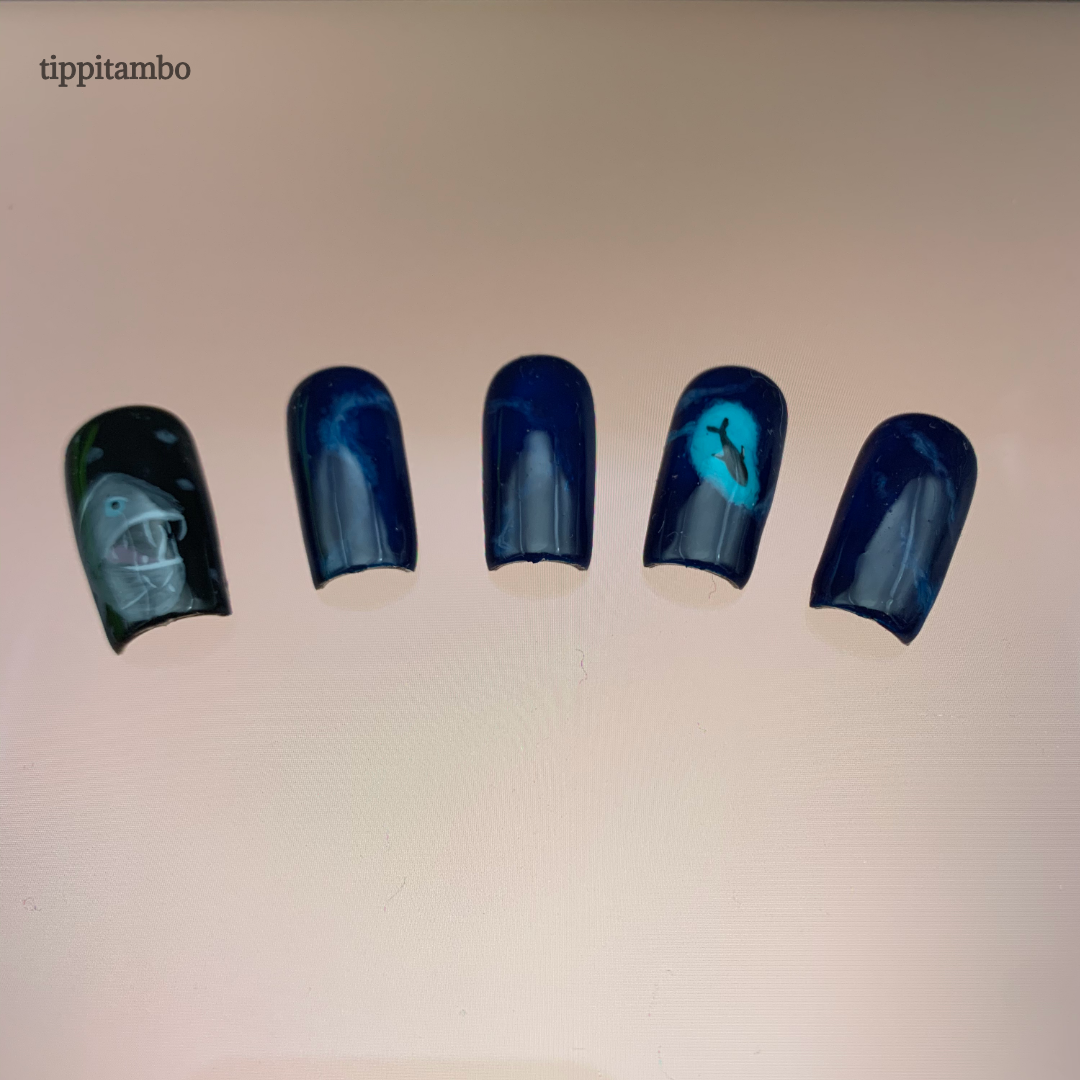
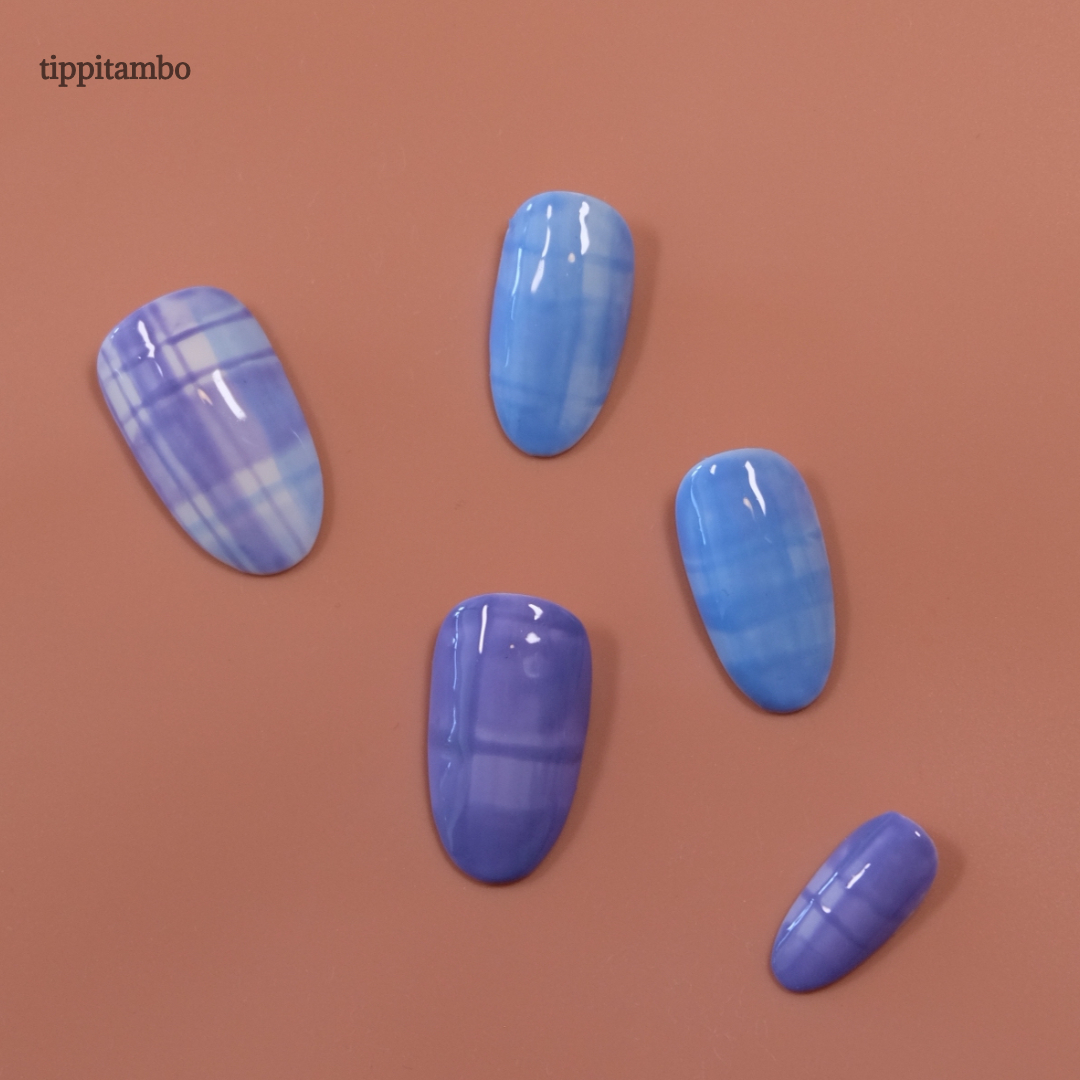
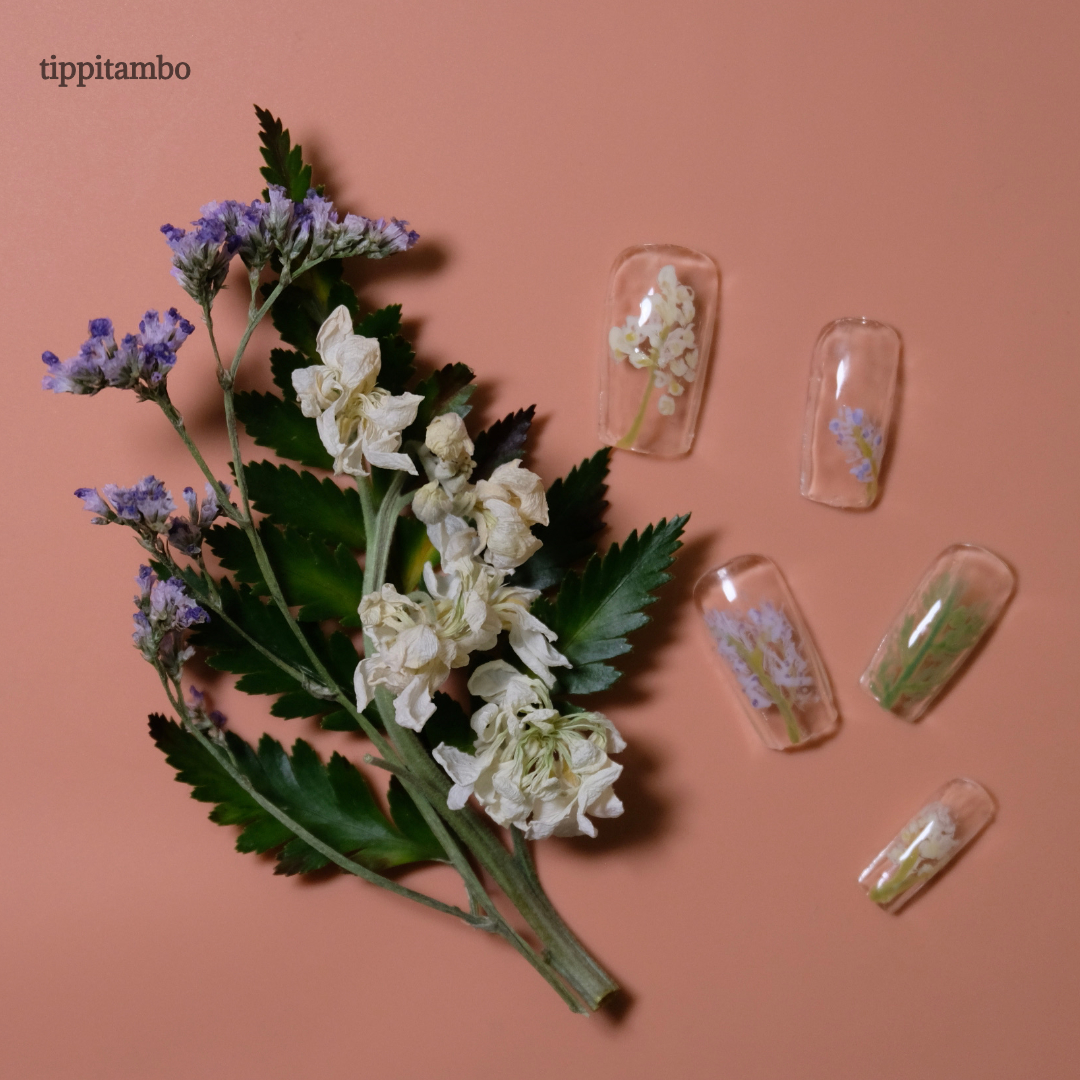
This 3-part nail art design process hasn’t yet let me down. It’s something that I think would be valuable to people who want to come up with new and creative nail art ideas for themselves and for others. It’s easy to follow and has actually helped me improve my designs. It has also helped me to more accurately recreate the same nail designs, because the key parts of the process are documented!
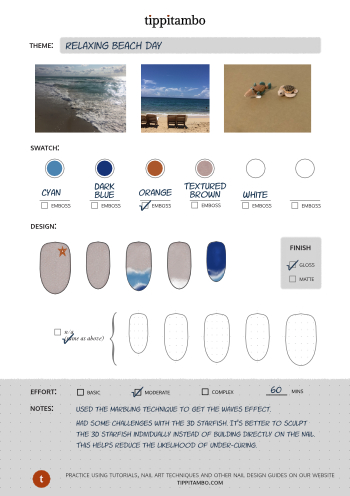
You can use this free digital nail art template to walk through this guide on your own and and later, practice with this ideation process. I first started sketching digitally because I was tired of wasting expensive gel polish on failed nail designs. Then, I realized that my designs gradually became more cohesive and appealing. Part of the reason for this, I’m guessing, is that the sketchbook forced me to keep in mind the size of the nail ‘canvas’. As a result, my designs no longer look stretched out and misshapen because I misjudged the nail size. The time and effort that I’ve saved has made this template a key part of my design process. Hopefully, it’s something that you can find useful as well.
The 3-Part Nail Ideation Process
Okay – so here we go! I’ll be going through the 3 key steps of the nail art ideation process in detail. Be aware that Part 2 is a central part of the process and should not be skipped!
Here are the 3 steps:
- Define the event, feeling, and /or thing that you’re interested in representing
- Discover the visuals, context, history and people associated with what you’ve defined
- Sketch (or transfer) the imagery that most resonates with what you want to represent based on your research
Part I: Define what you want
This is the easiest part – don’t overthink it. If you’re worried about technique or how you’re going to actually draw or create the amazing visuals on your nails, just check out our tutorials.
Instead, at this stage, you should only be focused on what you want to represent on the nails. Is it a special occasion like a birthday, independence day, valentines? Is there a major event like the World Cup or Olympics? Or maybe there’s a certain feeling that you want to show to the world like love, passion, sadness. Sometimes, you may even want to show-off your passions like music, love for the ocean, or your favorite animals.
Now that you’ve figured out what you want, make a note of that. You will constantly come back to this nail design concept because it is the compass that would help you develop nail art ideas that you would love. If you’re following along with the digital nail art template, fill out the nail theme section like this:

Part II: Discover what this nail design concept that you’ve come up really means
This is the part where you should spend the most time. The discovery phase can help you form a clearer mental image of the type of nail art that you’re really trying to create. If you’re doing the nail art for yourself, then this process may be a bit simpler.
However, if you’re doing it for someone else, then there’s one added step. You would need to take the time to ask your person questions about the particular nail art request – why do they want a particular nail design concept, what does it represent to them and what do they feel when they think of the concept. The responses to these questions can help guide you through the discovery process.
So how do you begin this discovery process? Here’s the most efficient way that works for me.
The Discovery Process
1. Do a quick google search with the key words about the nail design concept
If the images resonate with me in some way, then great! I’ll pull them into my design template. Otherwise, I’ll search for related keywords. I also check Instagram with similar key words because people tend to make an effort on creating memorable visuals on this platform. Again, if there are any images that seem to make an impression on me, I just pull them into my template. This initial step is a quick way to gather your thoughts and get a sense of the direction that you want to take. If you think your collected visuals give you a strong meaningful impression, then great! You can just move to Part III. But for those of us who want to dig deeper, let’s keep going.
I usually do not spend more than 15 minutes on this step. Think of this as the brainstorming stage – don’t judge or overthink, just pull those images that seem draw you in.
2. Research the history, people and places related to the concept you’ve defined
What attracted you towards the concept that you want to recreate? Is it an annual celebration? If so, look into some of the ways this is celebrated around the world. In fact, you may even have some unique ways that you usually celebrate compared to others. History books are a great resource because you may gain insights into new ways of living that you may have never even considered. When I was looking into a creating a nail design that represented the pandemic, I came across a story about the Danse Macabre. This art movement took place during the Black Death and was like a light bulb moment for me.
Research does not only have to be through books. It can also be done by exploring movies, music, and even theatre! Do the type of research that you enjoy the most! There’s no right way. It’s more important that you actually do the research. This step has given me some of my most favorite ideas!
3. Go out into the world and take your own photos
Sometimes, we forget that our own eyes are the best camera. There is only one of you. The people and places that you interact with shape one of a kind experiences that cannot be replicated. What objects or creatures are in your presence right now? Go outside, have a mini adventure and take some pictures. Alternatively, you can browse through old photos and videos of yourself. What aspects of these photos bring a sense of nostalgia? Do they create moods or feelings that align with the design concept? Through these exercises, you will find that your own experiences are important sources for formulating unique nail art ideas.
4. Look for open access artwork
Sometimes, we may feel really lazy or too drained to be creative. Generally, I think it’s important to refrain from directly copying any artist. But if you’re really desperate, you can copy the open access artwork from the Met Museum for free.
The Formulation of Nascent Nail Art Ideas
If you’ve been following along with the digital nail art template, the Mood Board section should now be filled with the visuals that you’ve chosen. Now, pause. Close your eyes and look at the mood board again. Remove those images/visuals that you thought may have been amazing but now fall flat.
Now, pause again. Close your eyes and come back to the mood board. What stands out to you? Do certain colors tend to dominate? What people, animals, places and things are common? Now look at the textures of the visuals that you’ve selected. Do they seem soft with round edges? Or harsh and rough? This is important to notice because it would give you a sense of the textures and shapes to use in your nail art. And finally, what’s the overall feeling that you get from the mood board. Does it fully represent what you defined in Part I above? If yes, you’re ready to proceed. Nail art ideas should be running through your mind at this point. If not, take some more time with this discovery process.

Part III: Sketch to bring your nail art ideas to life
Sketching is the part where we summarize the visuals that have made their way into our mood board. It’s not directly copying (unless you’re looking at open access works), but creating a cohesive story or image about the nail design concept that you’ve defined.
So when you were in the discovery phase, you answered a few questions about what stands out to you in your mood board. Now, take those same responses and think of what they mean to you overall. Sometimes, it’s one image that stands out to you. Sometimes, it the colors and the mood that they represent. It doesn’t matter, just sketch. I prefer to do this digitally since I’m easily able to improve the cohesiveness of my nail design. For example, I can do multiple iterations of a sketch without wasting paper. These discarded sketches sometimes serve as an inspiration for another novel nail design concept.
After completing your sketch, write down the dominant gel colors in your design. In addition to the generic color name, I also prefer to include the specific brand and brand color identifier. In this way, I gain of sense of what colors I have on hand, or would need before I begin creating the nail art.
Alternatively, you can transfer parts of the images that you’ve collected on your mood board to define the design. This works well if you have a very specific design that you’re trying to replicate and you’re not aiming for an innovative or unique design.
Conclusion
After this stage, you’ll be left with a complete picture of the nail art that you’re going to create, the colors that you would need, and a sense of the time that it would take you to complete the project. Now, you’re ready to take your nail design concept and actually create your own unique nail art!
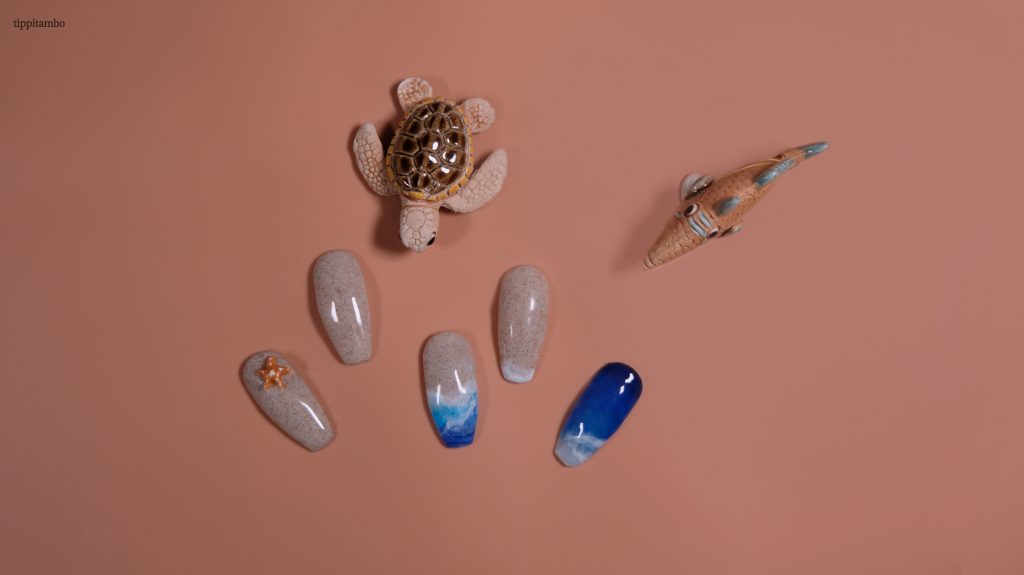
If your idea requires any special techniques to re-create textures such as wood, jeans, or gravel, feel free to go through our tutorials. The tutorials are constantly growing so if there is any technique that is not available, feel free to contact me with your special request.
After thoughts
Don’t forget to do nail prep before you begin! Bad nail prep can contribute to chipping and peeling. This can be devastating if you spend a lot of time creating complicated nail art. Check out our beginner resources, if this is something that you’re concerned about. Beginners may also want to consider practicing by using a brush tip marker on paper before proceeding from the sketch to an actual nail. I know that I’ve been going on for some time about the value of digital planning. However, I’ll make an exception here. As a beginner, practicing your design with a pen and paper can save you some angst and money! Gel polish is pricey!
In closing, I would love to hear from you. Please let me know if this process works for you. Do you think you have a more effective process to come up with great nail art ideas? Share your thoughts in the comments below!

