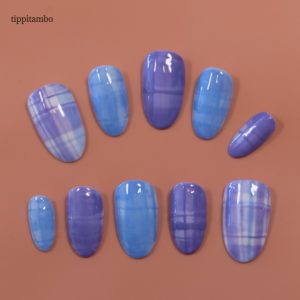
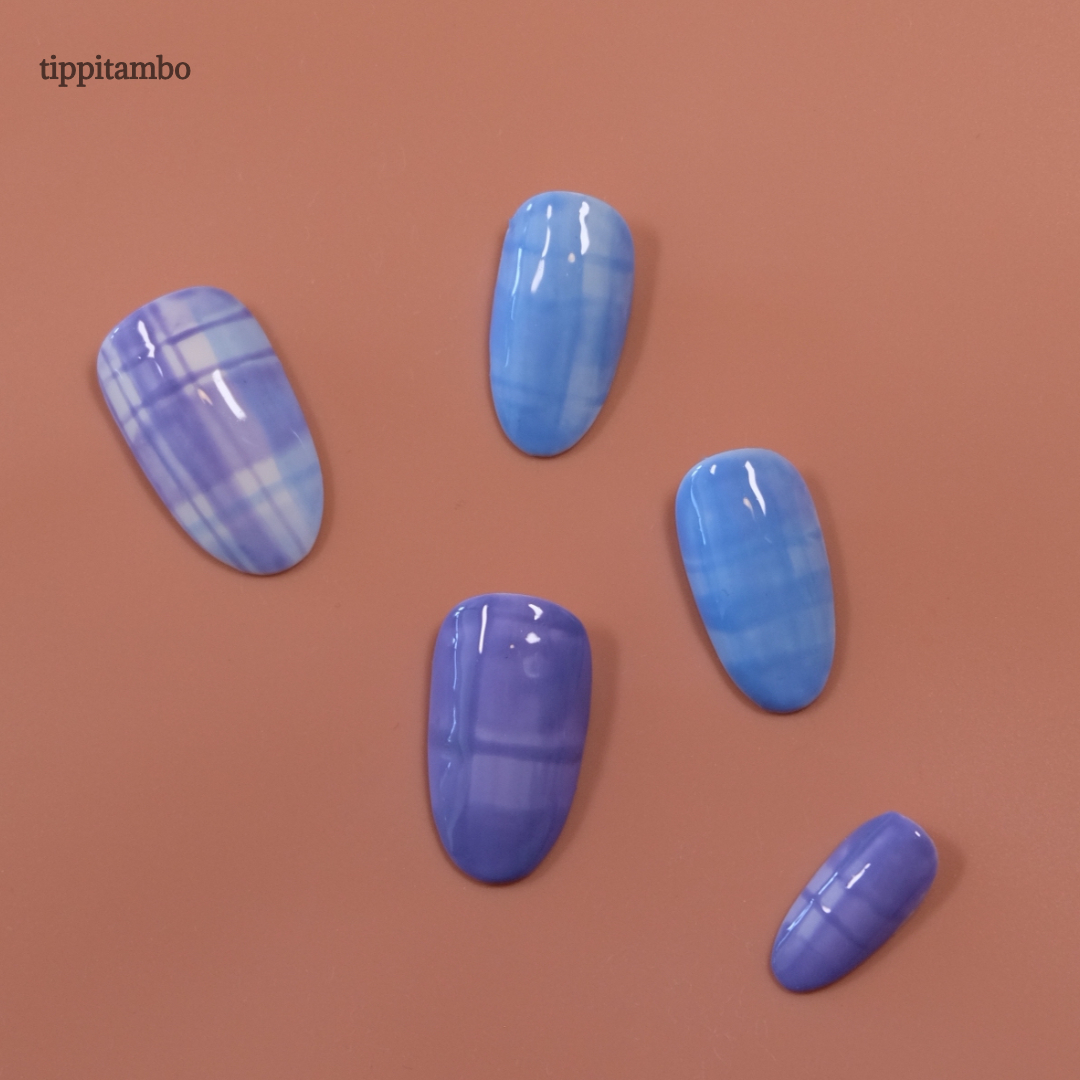
The nail art tutorial below is for the single plaid nail design on the thumb of the pictured set. Before you begin, don’t forget to prepare your nail surface with a DIY nail cleanser!

Instructions
Step 1

- Apply base coat and cure
- Apply white coat and cure. Reapply white coat until opaque and cure
Step 2

- On a silicone mat, combine mixing clear gel with purple gel until achieve a translucent color. Repeat for blue gel. These colors would be used to create the plaid design.
- In a vertical direction apply blue and purple stripes to the nail with multiple levels of thickness. For the first layer of this design, we included a thick blue verticle line, a thick purple verticle line, and two thin purple vertical lines. Each line is separated with varying degrees of thickness so that the white background color can be seen.
- Cure.
Step 3

- Repeat the above thick and thin lines, but in a horizontal direction. The translucent nature of the gel helps create the appearance of depth as the colors overlap.
- Cure.
Step 4

- Apply shiny top coat.
- Cure.
Tips & Tricks
This plaid nail design provides a simple yet effective way to demonstrate how to create the illusion of depth. Plaid is typically associated with school uniforms or preppy fashion on wool or cotton. So, plaid can also be a really great way to play around with fun textures on the nail. But we’re getting ahead of ourselves! For now, this nail art tutorial will focus on the layering technique, which helps bring out a sense of depth.
So how do we we create this illusion? It’s simple! This is where translucent colors come in! Gel brands usually sell these colors using terms such as jelly but you’ll also hear terms thrown around such as sheer and see-through. If you’re short on cash and don’t want to splurge on new gel products, I’ve got you!
An easy way to create your own sheer colored gel polish is to mix your regular color gel with a clear gel. So instead of buying every color that you already have in a sheer version, you can simply keep a clear mixing gel on hand. The amount of clear gel needed really depends on how translucent you want the final jelly gel polish to be. So let’s start playing around with your new translucent gel polish using this simple (though complex-looking) plaid nail design!
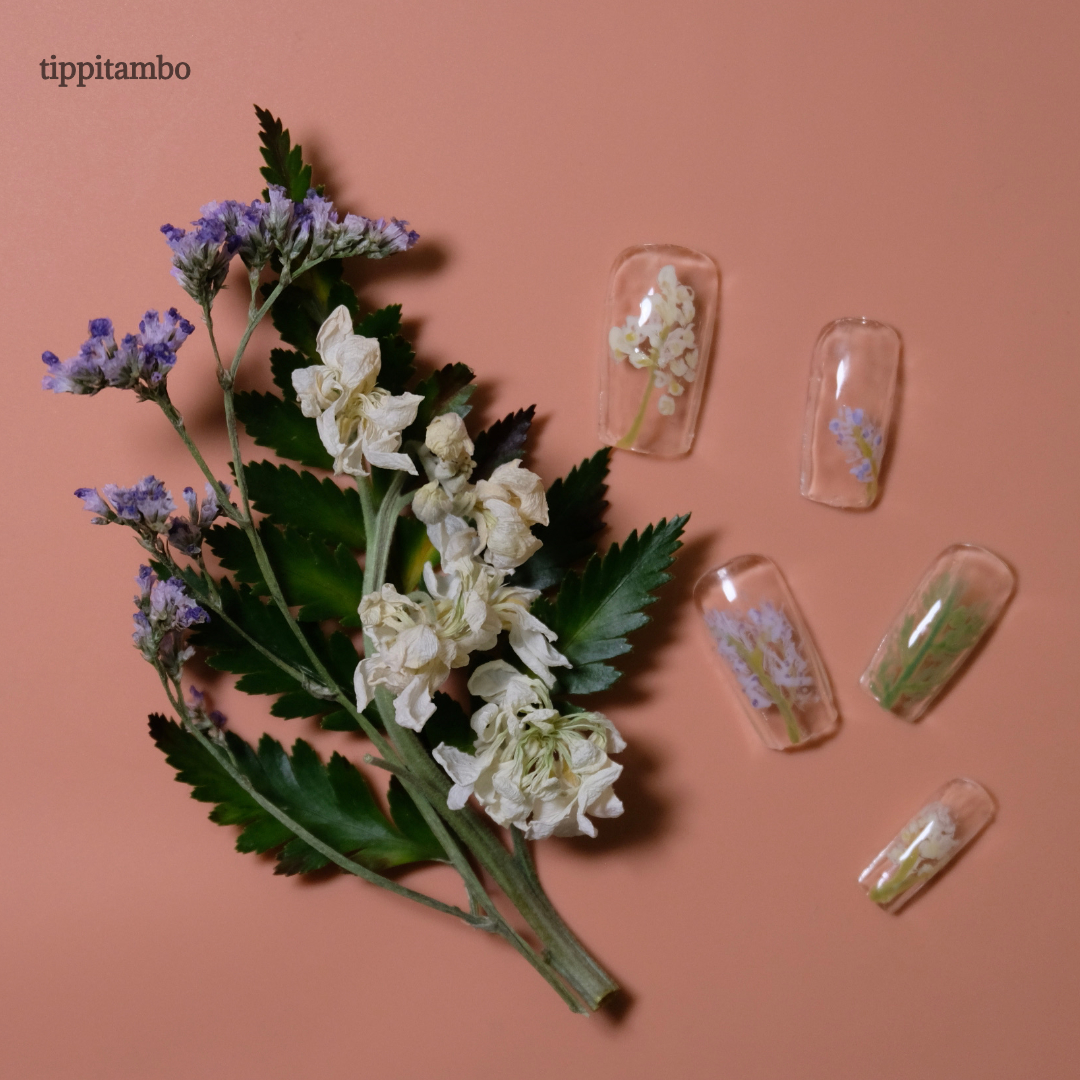
Inspiration
The Full Set
The Full Set - Another Look